Centro de ayuda de BriqSafe
← Volver al centro de ayuda

Crea tu primer cliente

Este artículo explica cómo crear un nuevo cliente en BriqSafe, añadir un contacto para ese cliente y vincular el contacto al registro del cliente. Está dirigido a administradores que gestionan clientes en el sistema.

Nota

Rol necesario: Propietario o Administrador

Crear un nuevo cliente
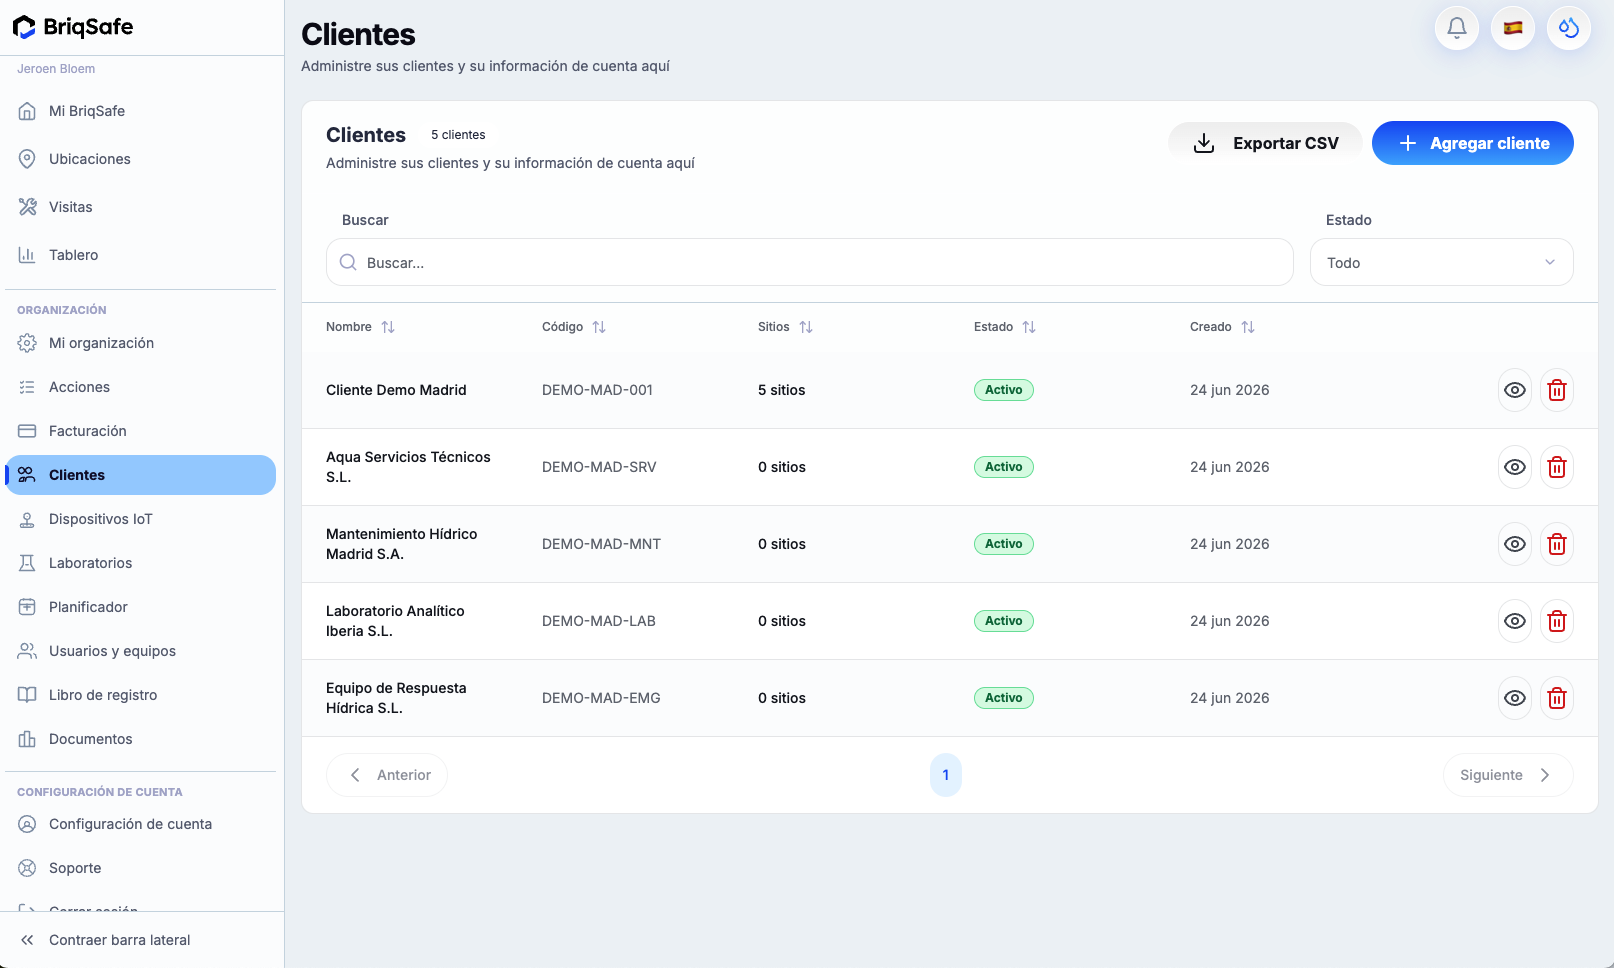
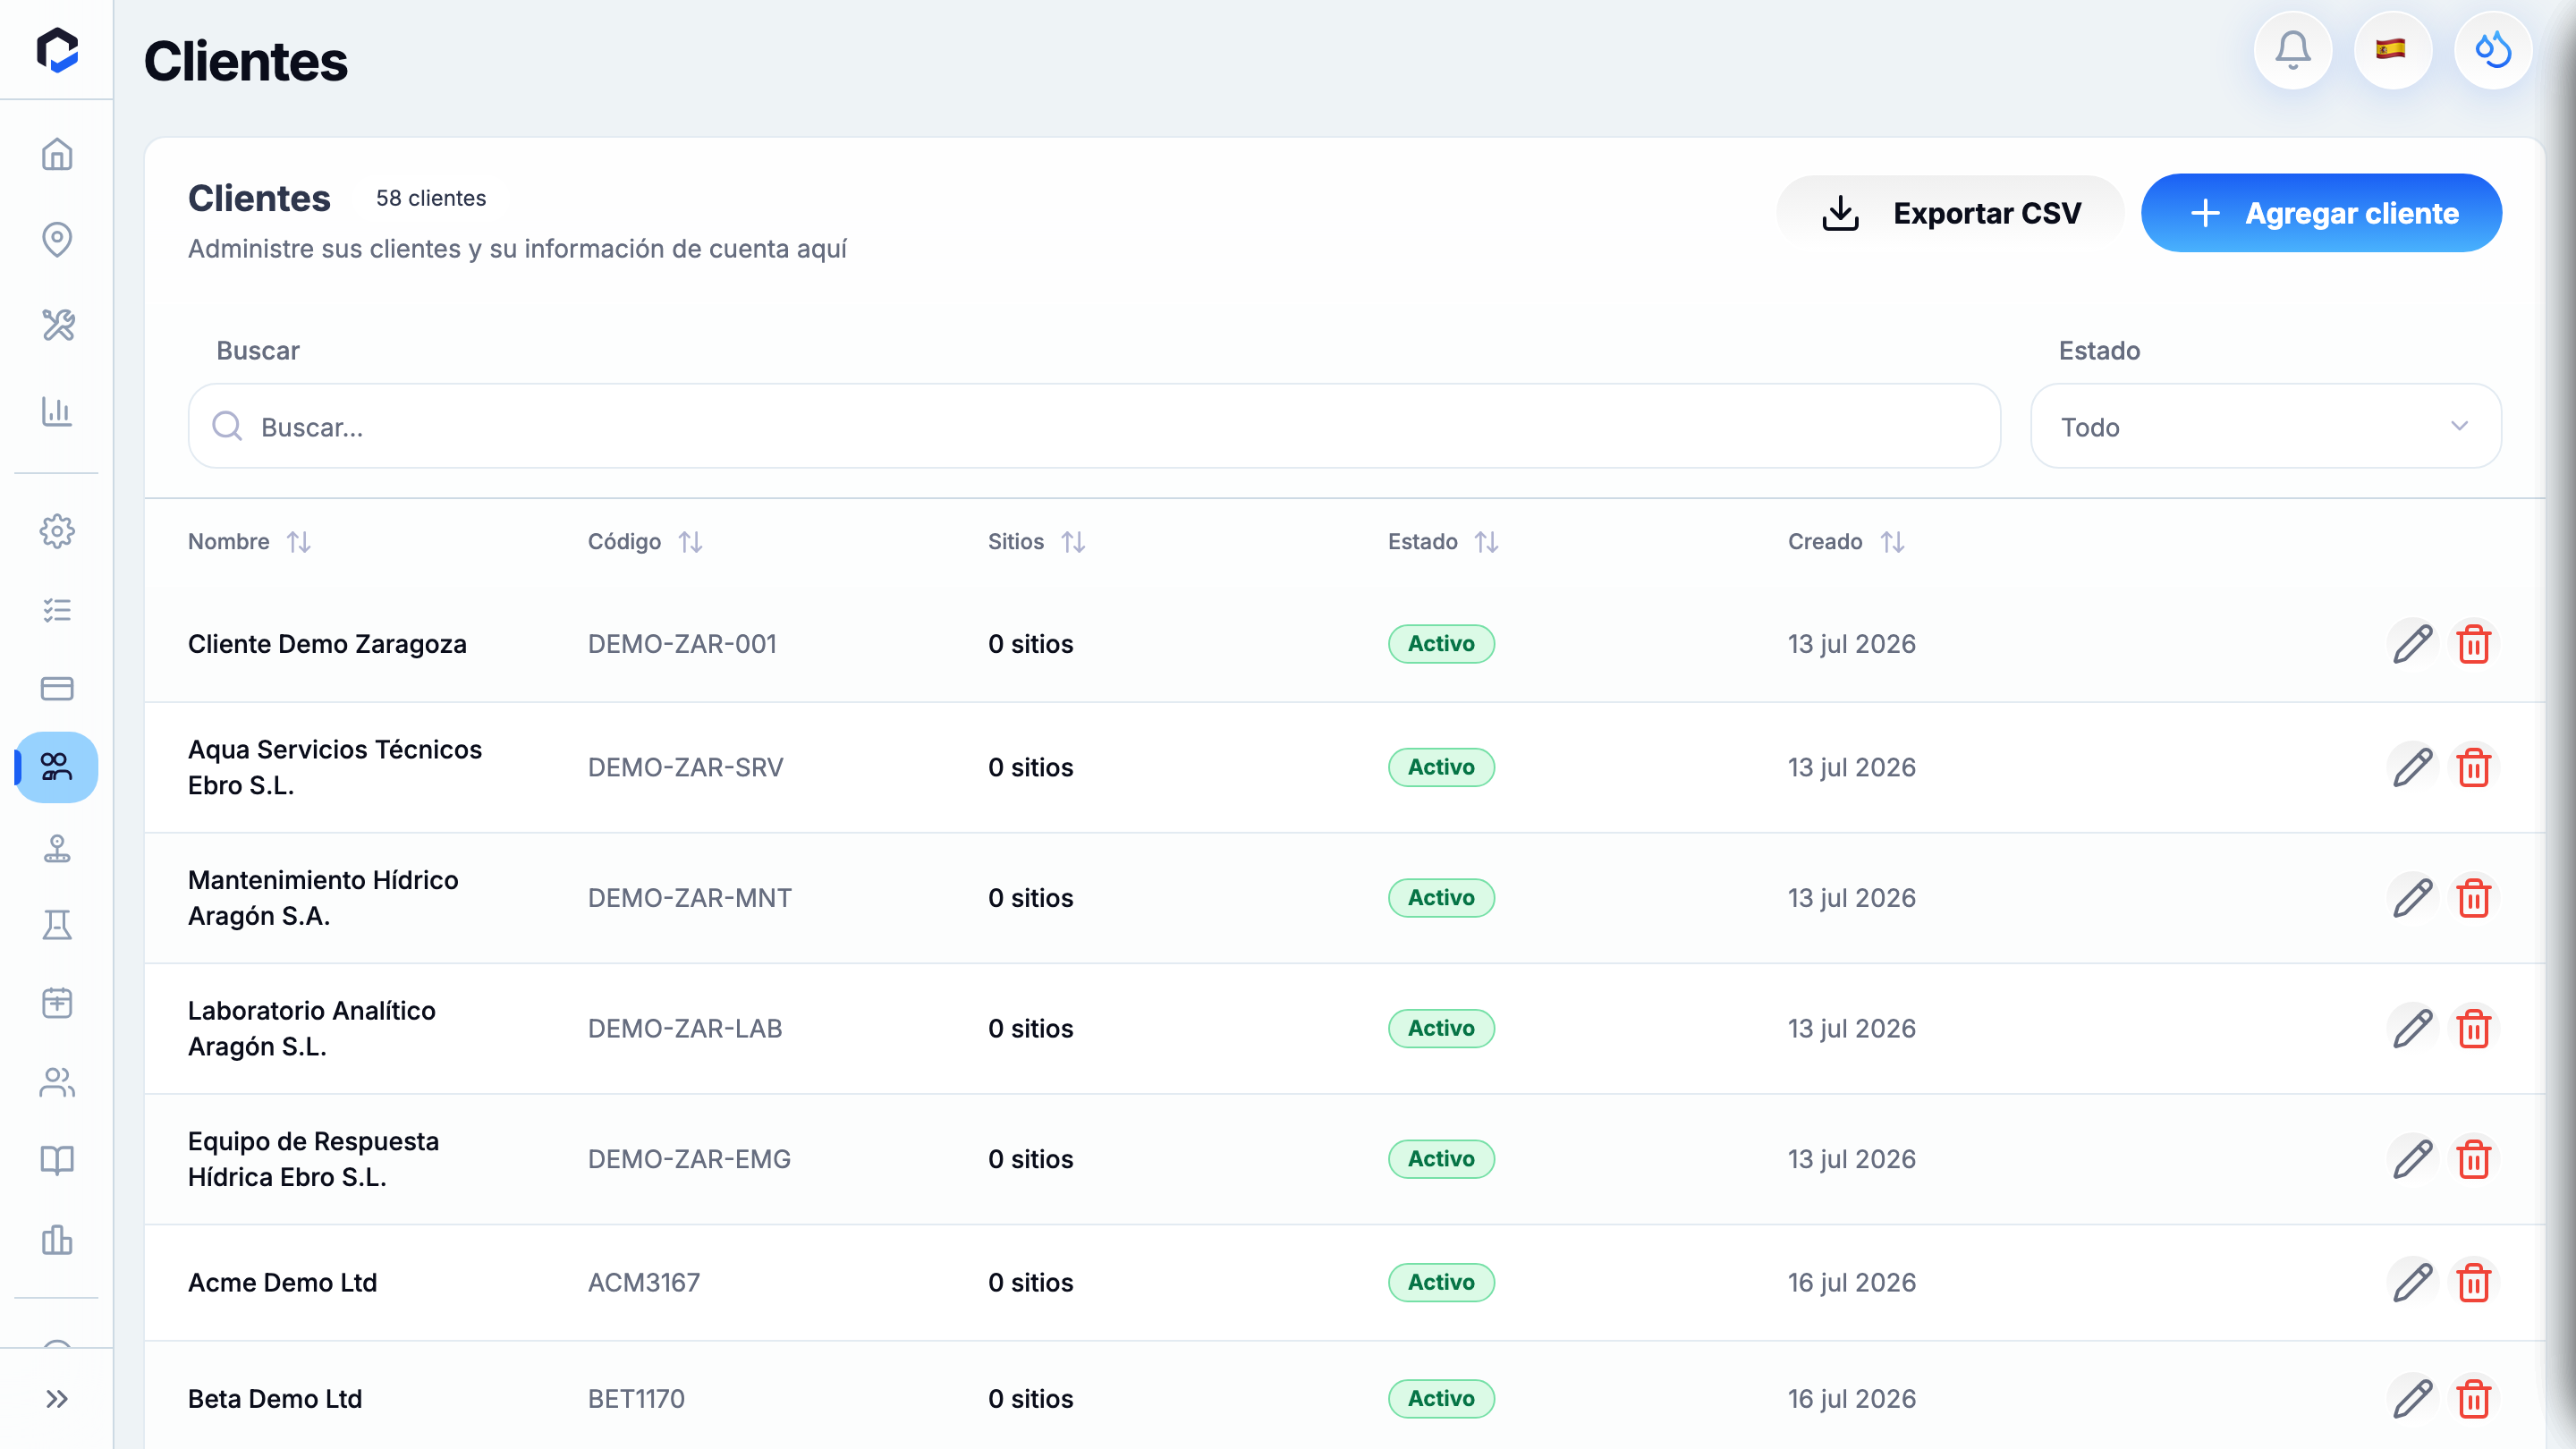
Clients screen for managing client accounts with options to search, view, delete clients, add a new client, and export client data as CSV.

Para registrar una nueva organización cliente y así poder asociar ubicaciones, contactos e información de facturación, sigue estos pasos:

  1. Selecciona Clientes en el menú principal.
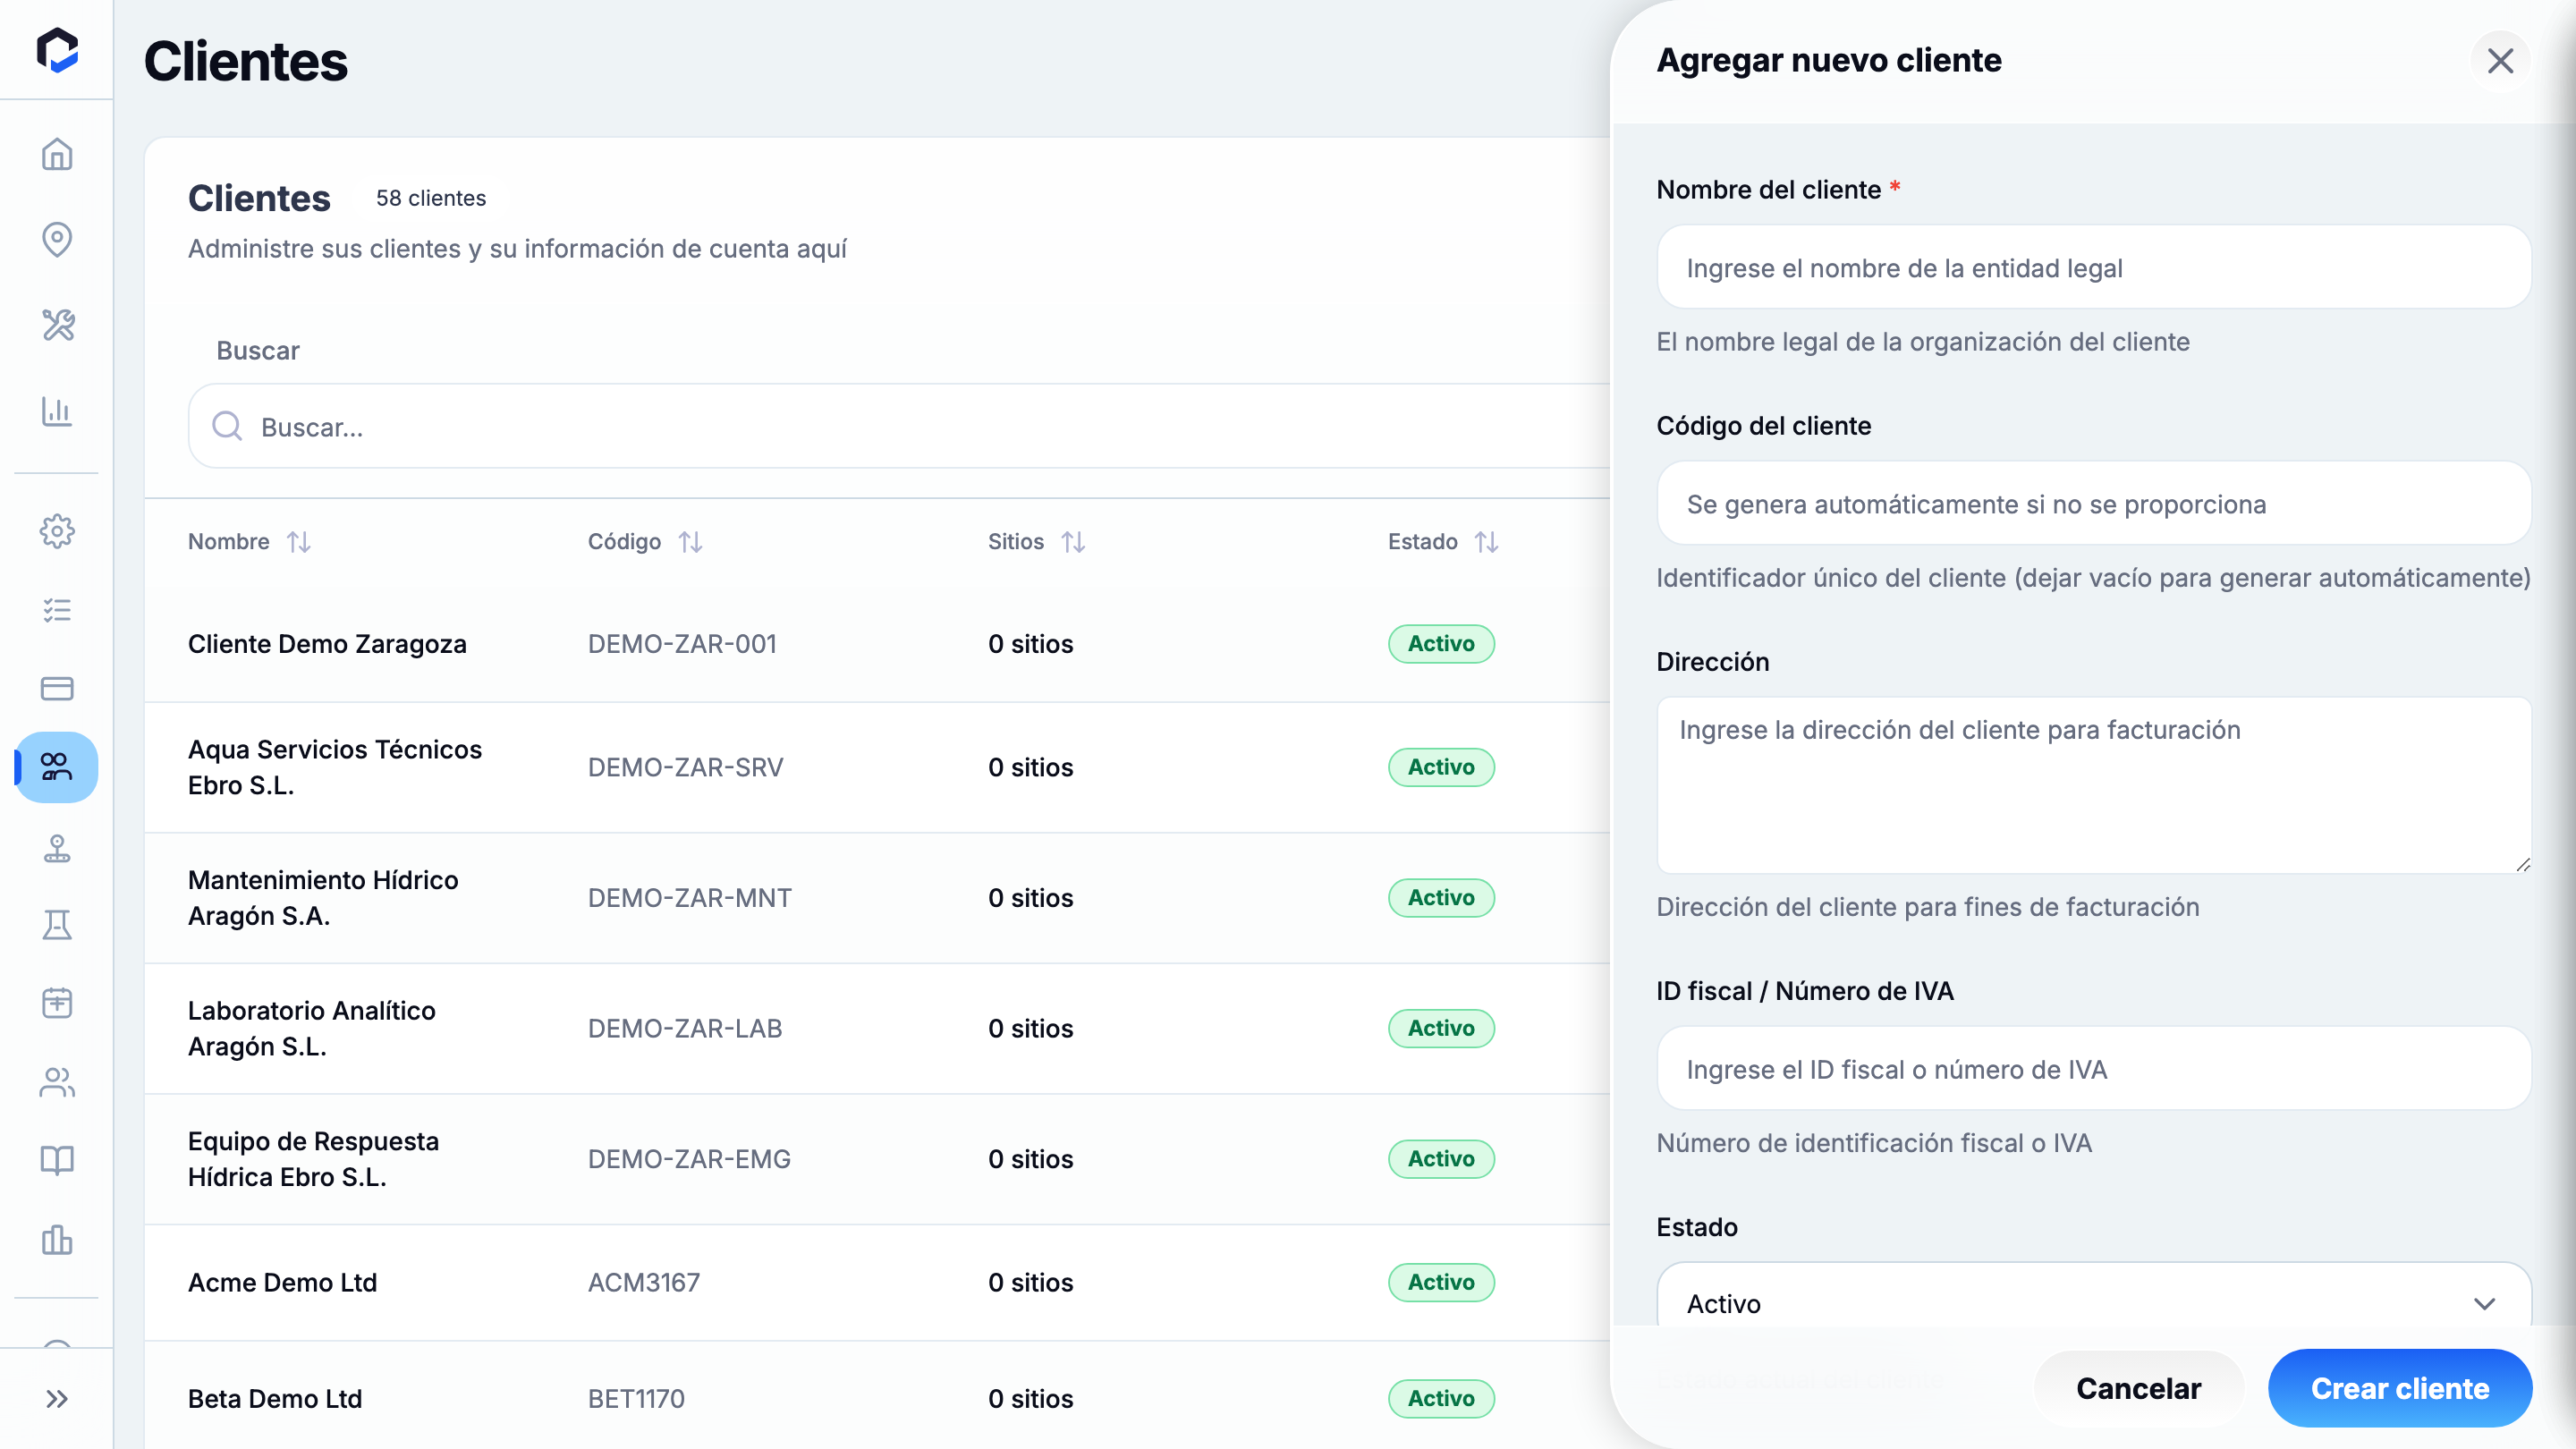
  2. Elige Añadir cliente para abrir el panel lateral de Nuevo cliente.
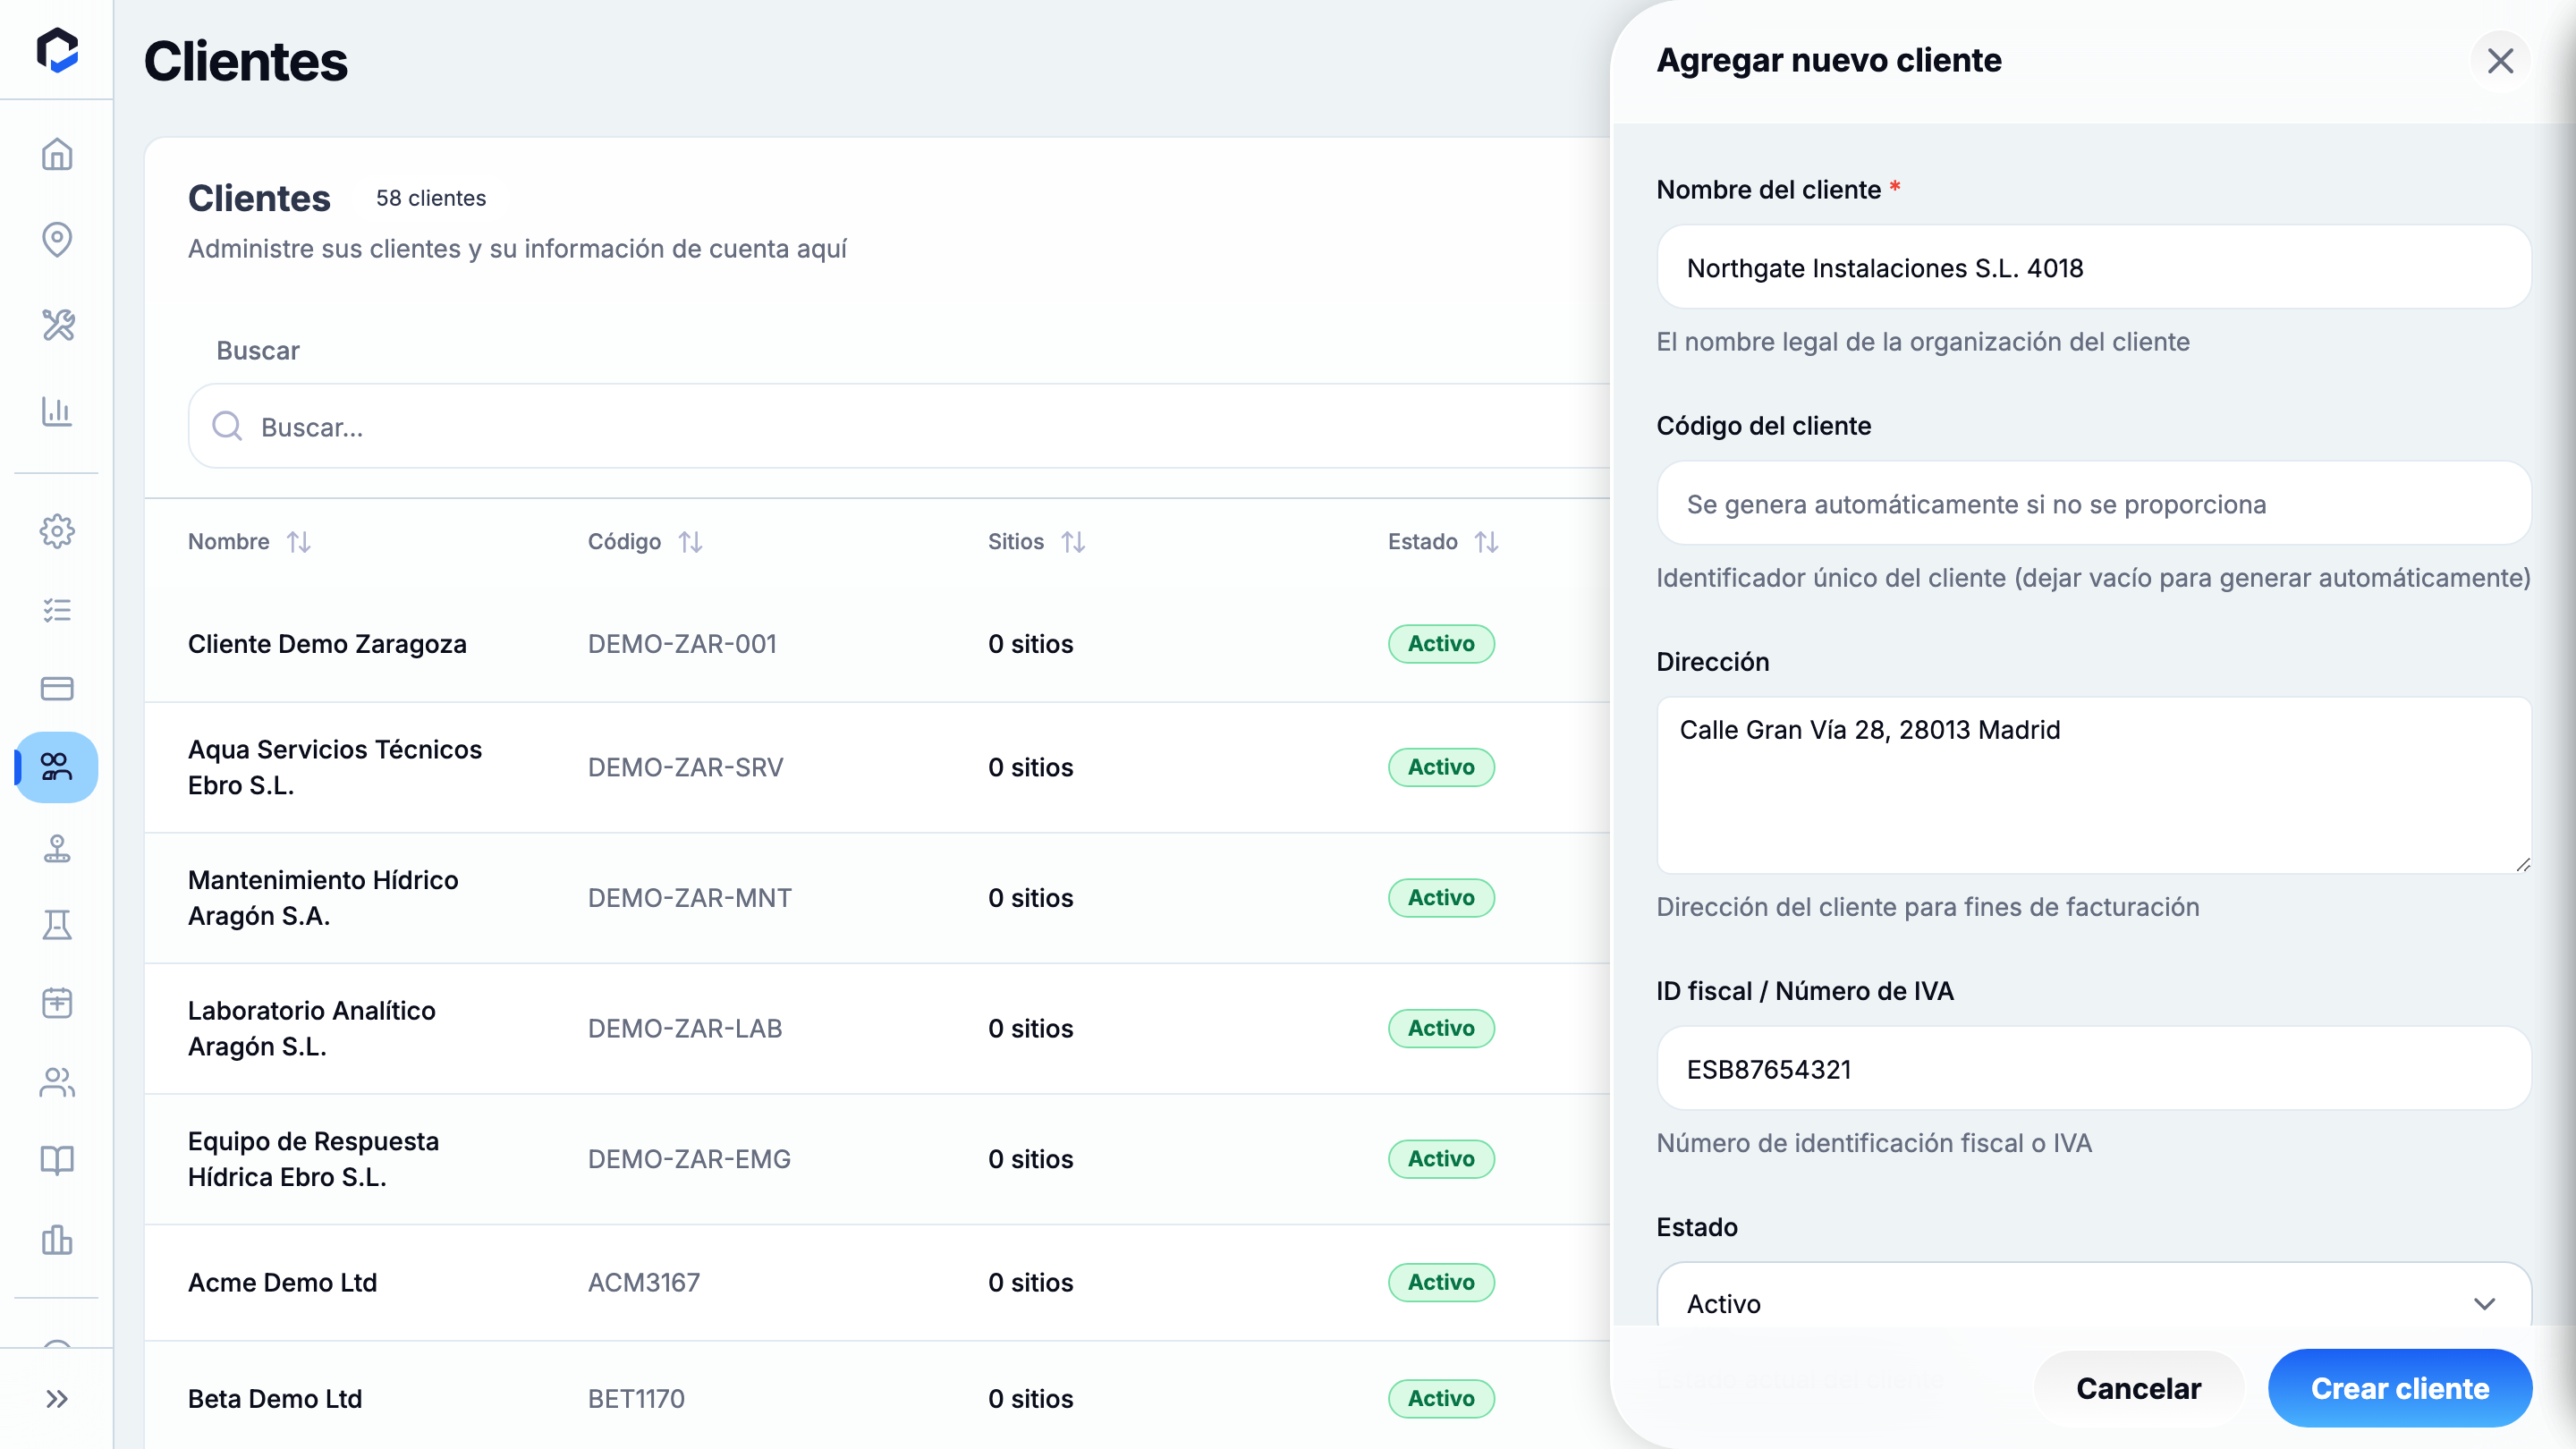
  3. Introduce el Nombre del cliente con la denominación social legal (este campo es obligatorio y debe ser único dentro de tu organización).
  4. Deja el campo Código del cliente en blanco para que se genere automáticamente, o introduce un código único si lo prefieres.
  5. Opcionalmente, completa los campos Dirección, Identificación fiscal / NIF, Estado (Activo o Inactivo) y Notas.
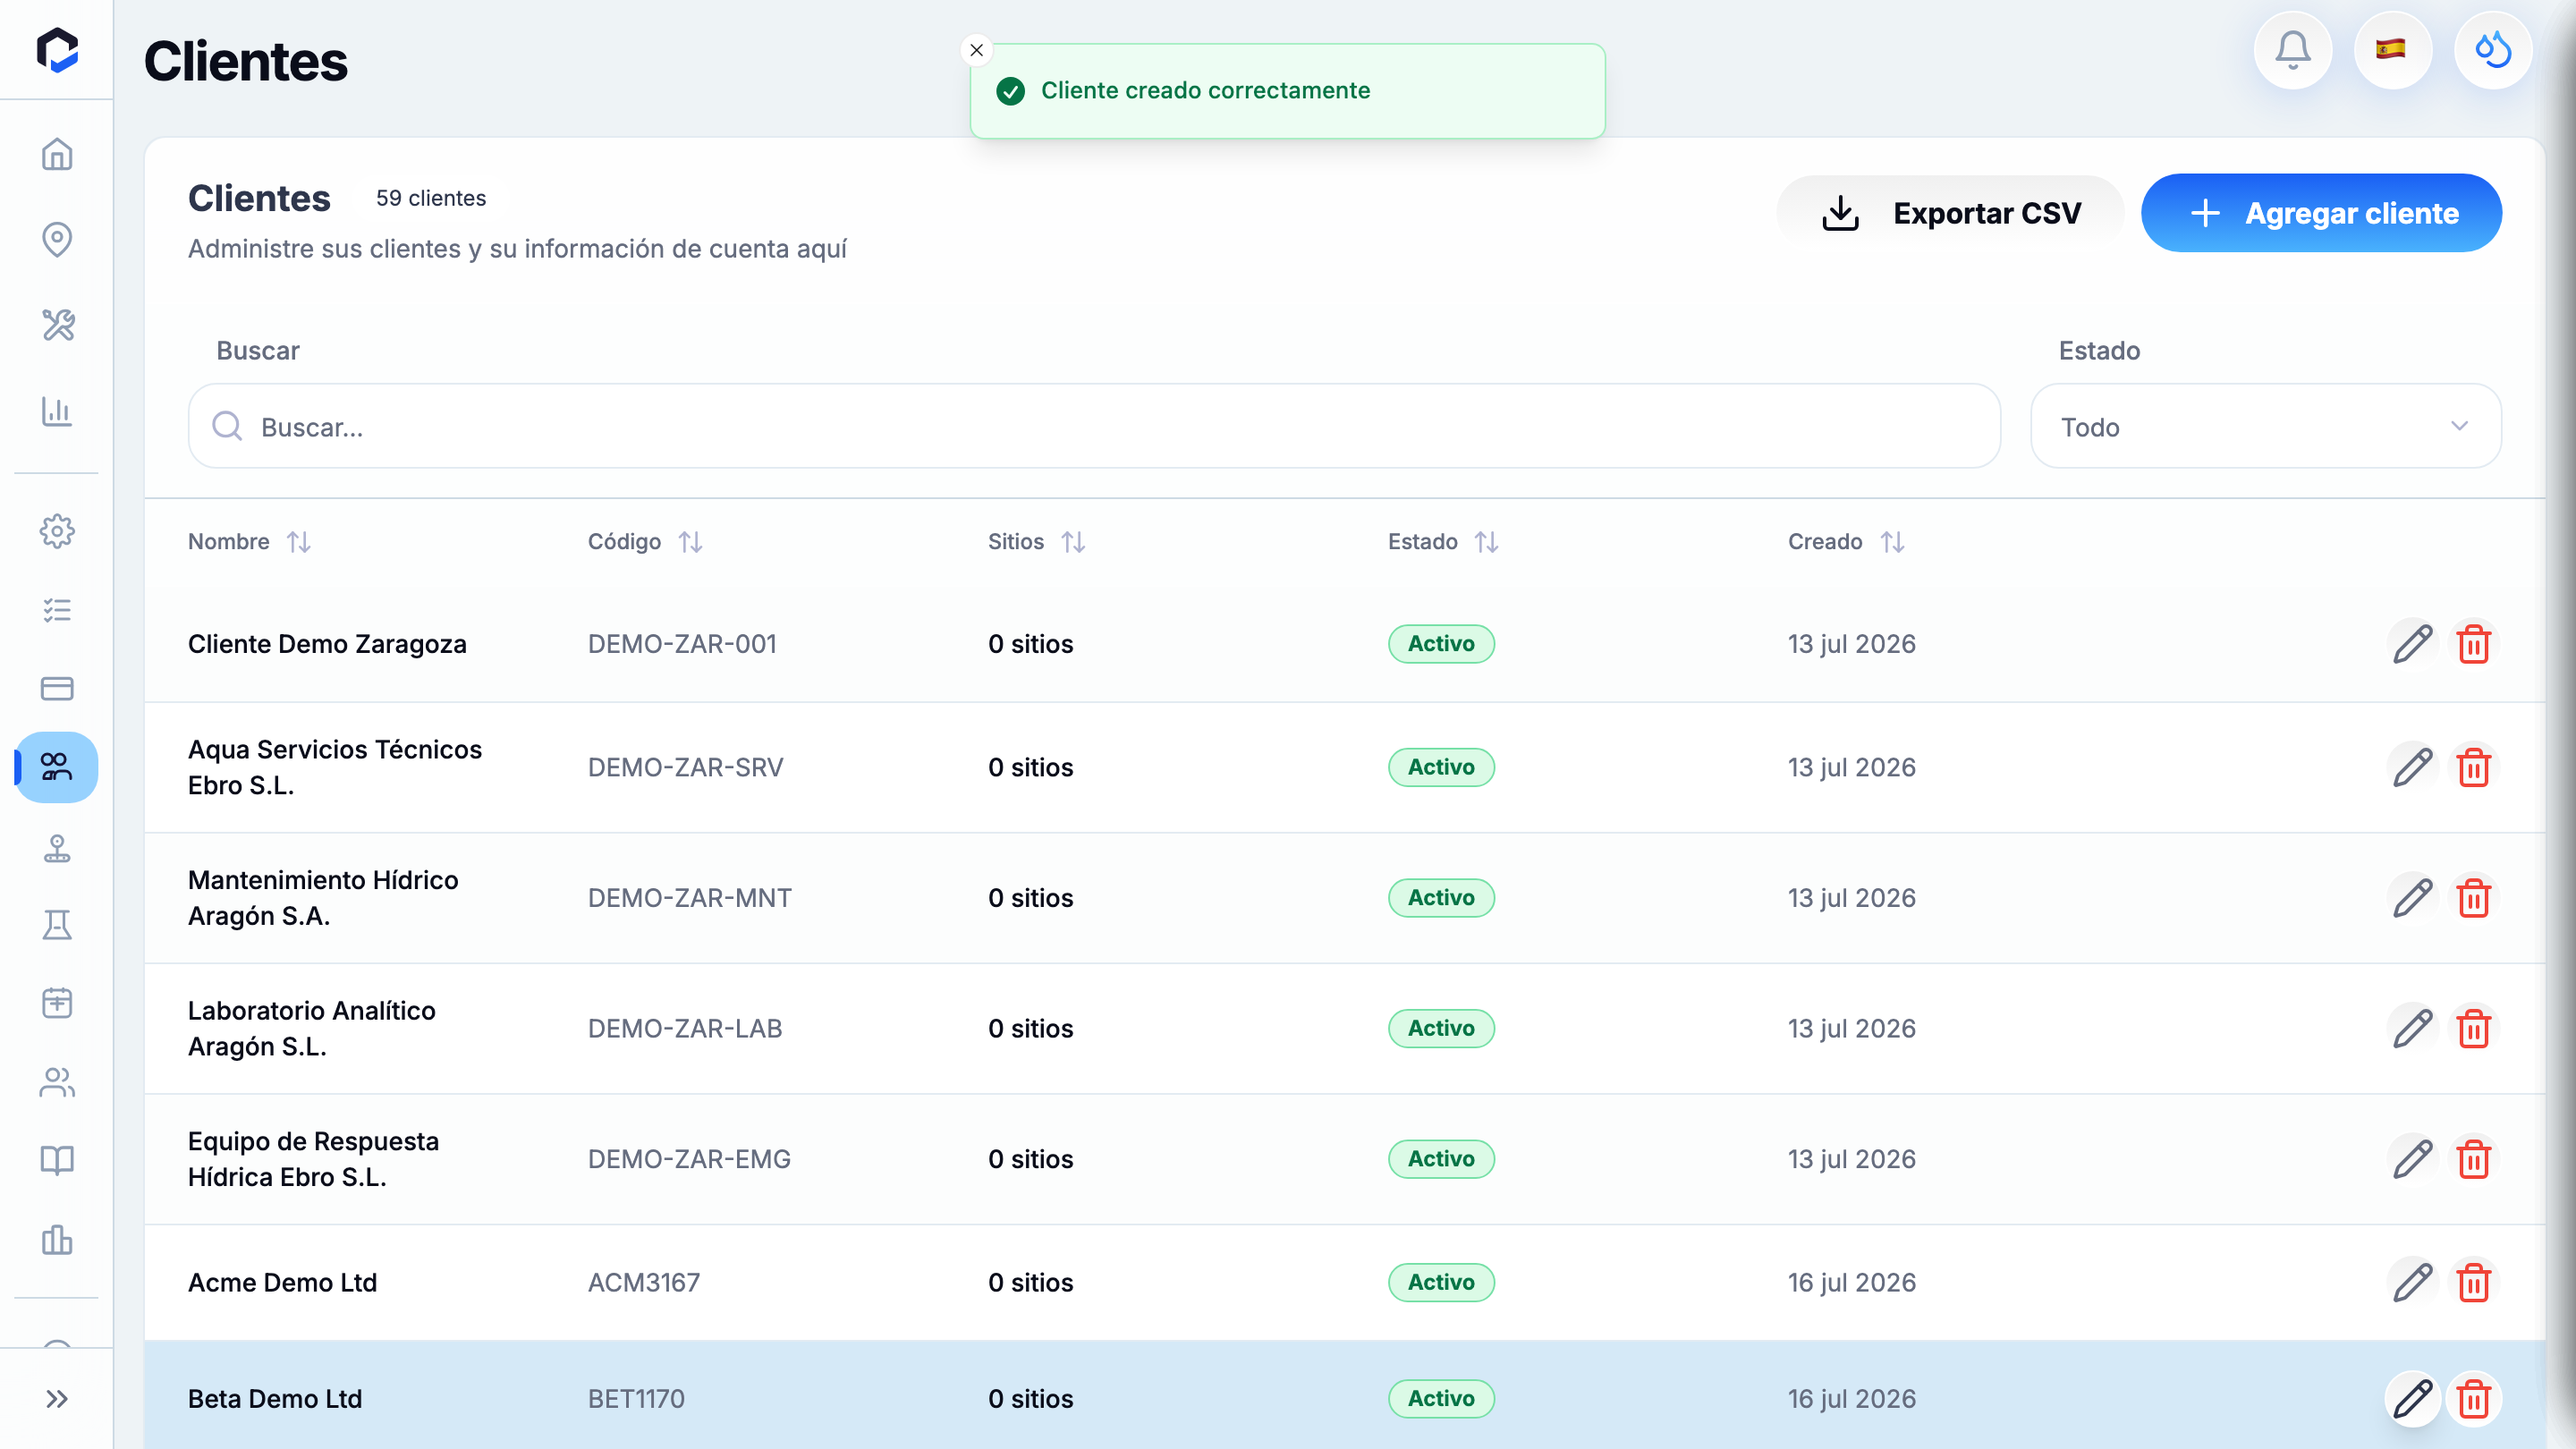
  6. Pulsa Crear cliente para guardar el nuevo cliente, que aparecerá inmediatamente en la lista.

Nota: Solo los usuarios con rol de Propietario o Administrador pueden crear clientes. Si no tienes permiso, el formulario no será visible.

Añadir un contacto al cliente

Una vez creado el cliente, puedes añadir uno o varios contactos para registrar las personas vinculadas a ese cliente. Esto es útil para la entrega de informes, facturación, consultas técnicas o escalados.

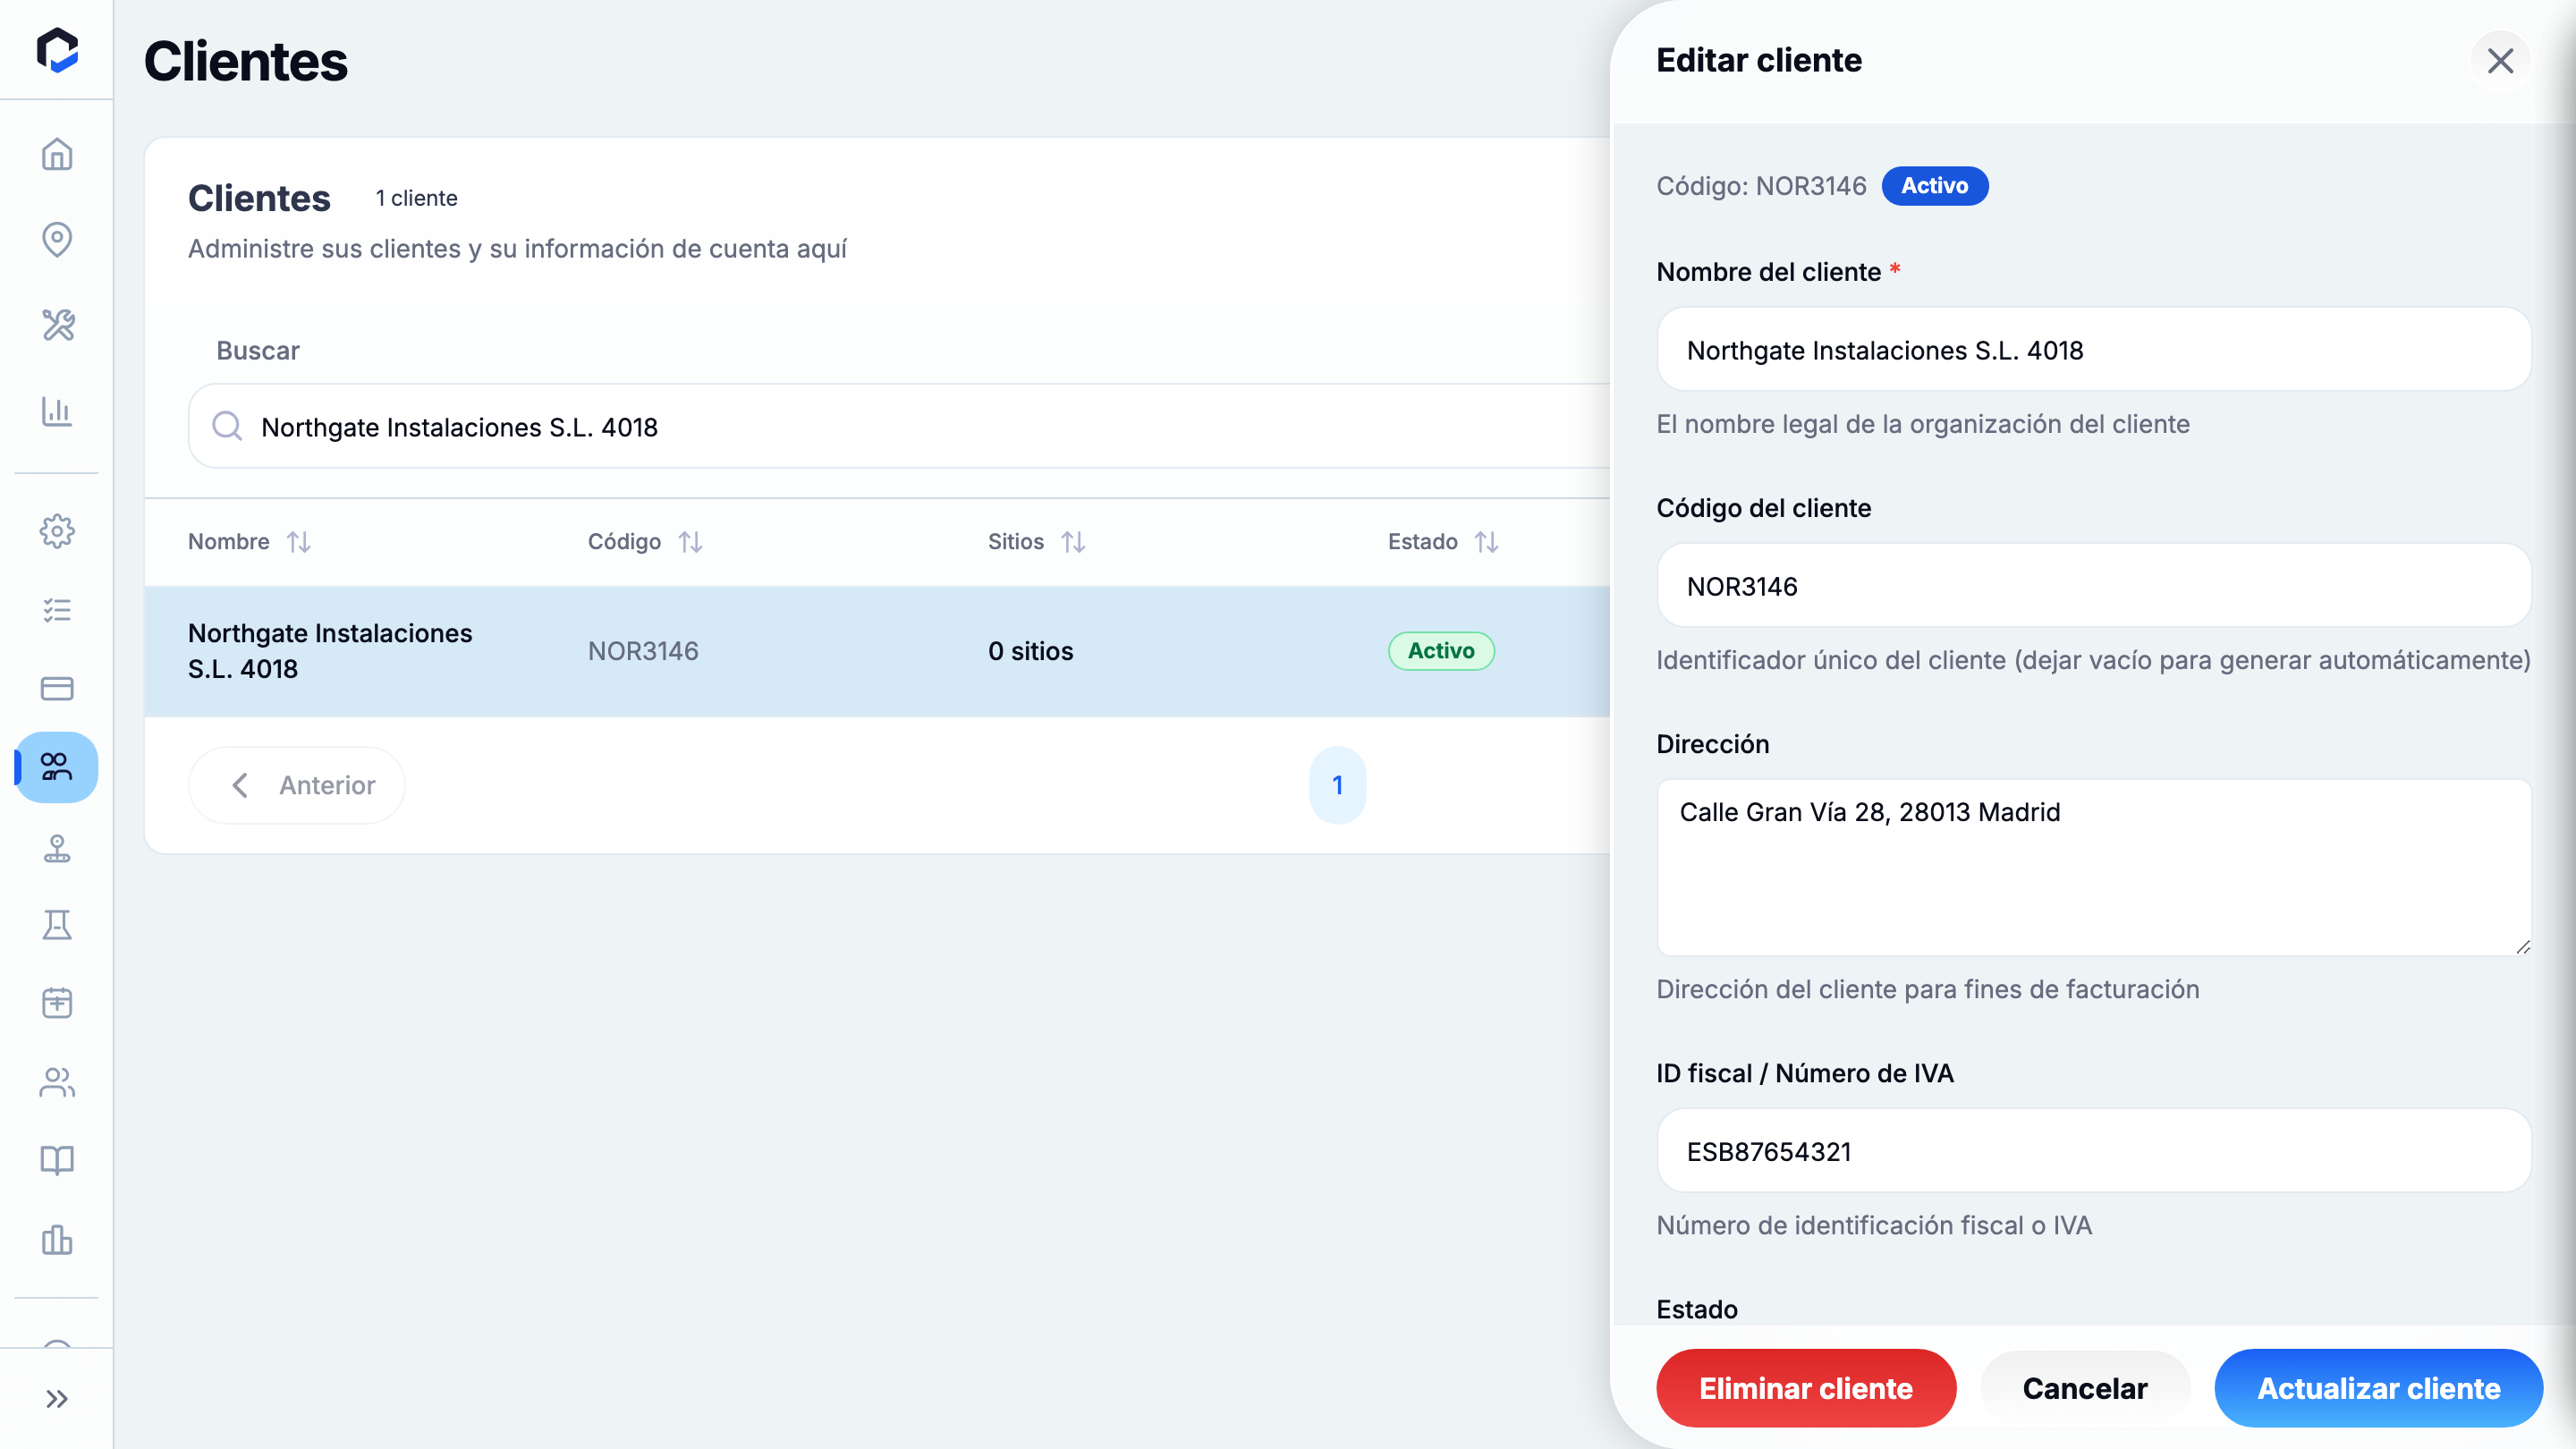
  1. Desde la lista de clientes, haz clic en la fila del cliente para abrir el panel lateral Editar cliente.

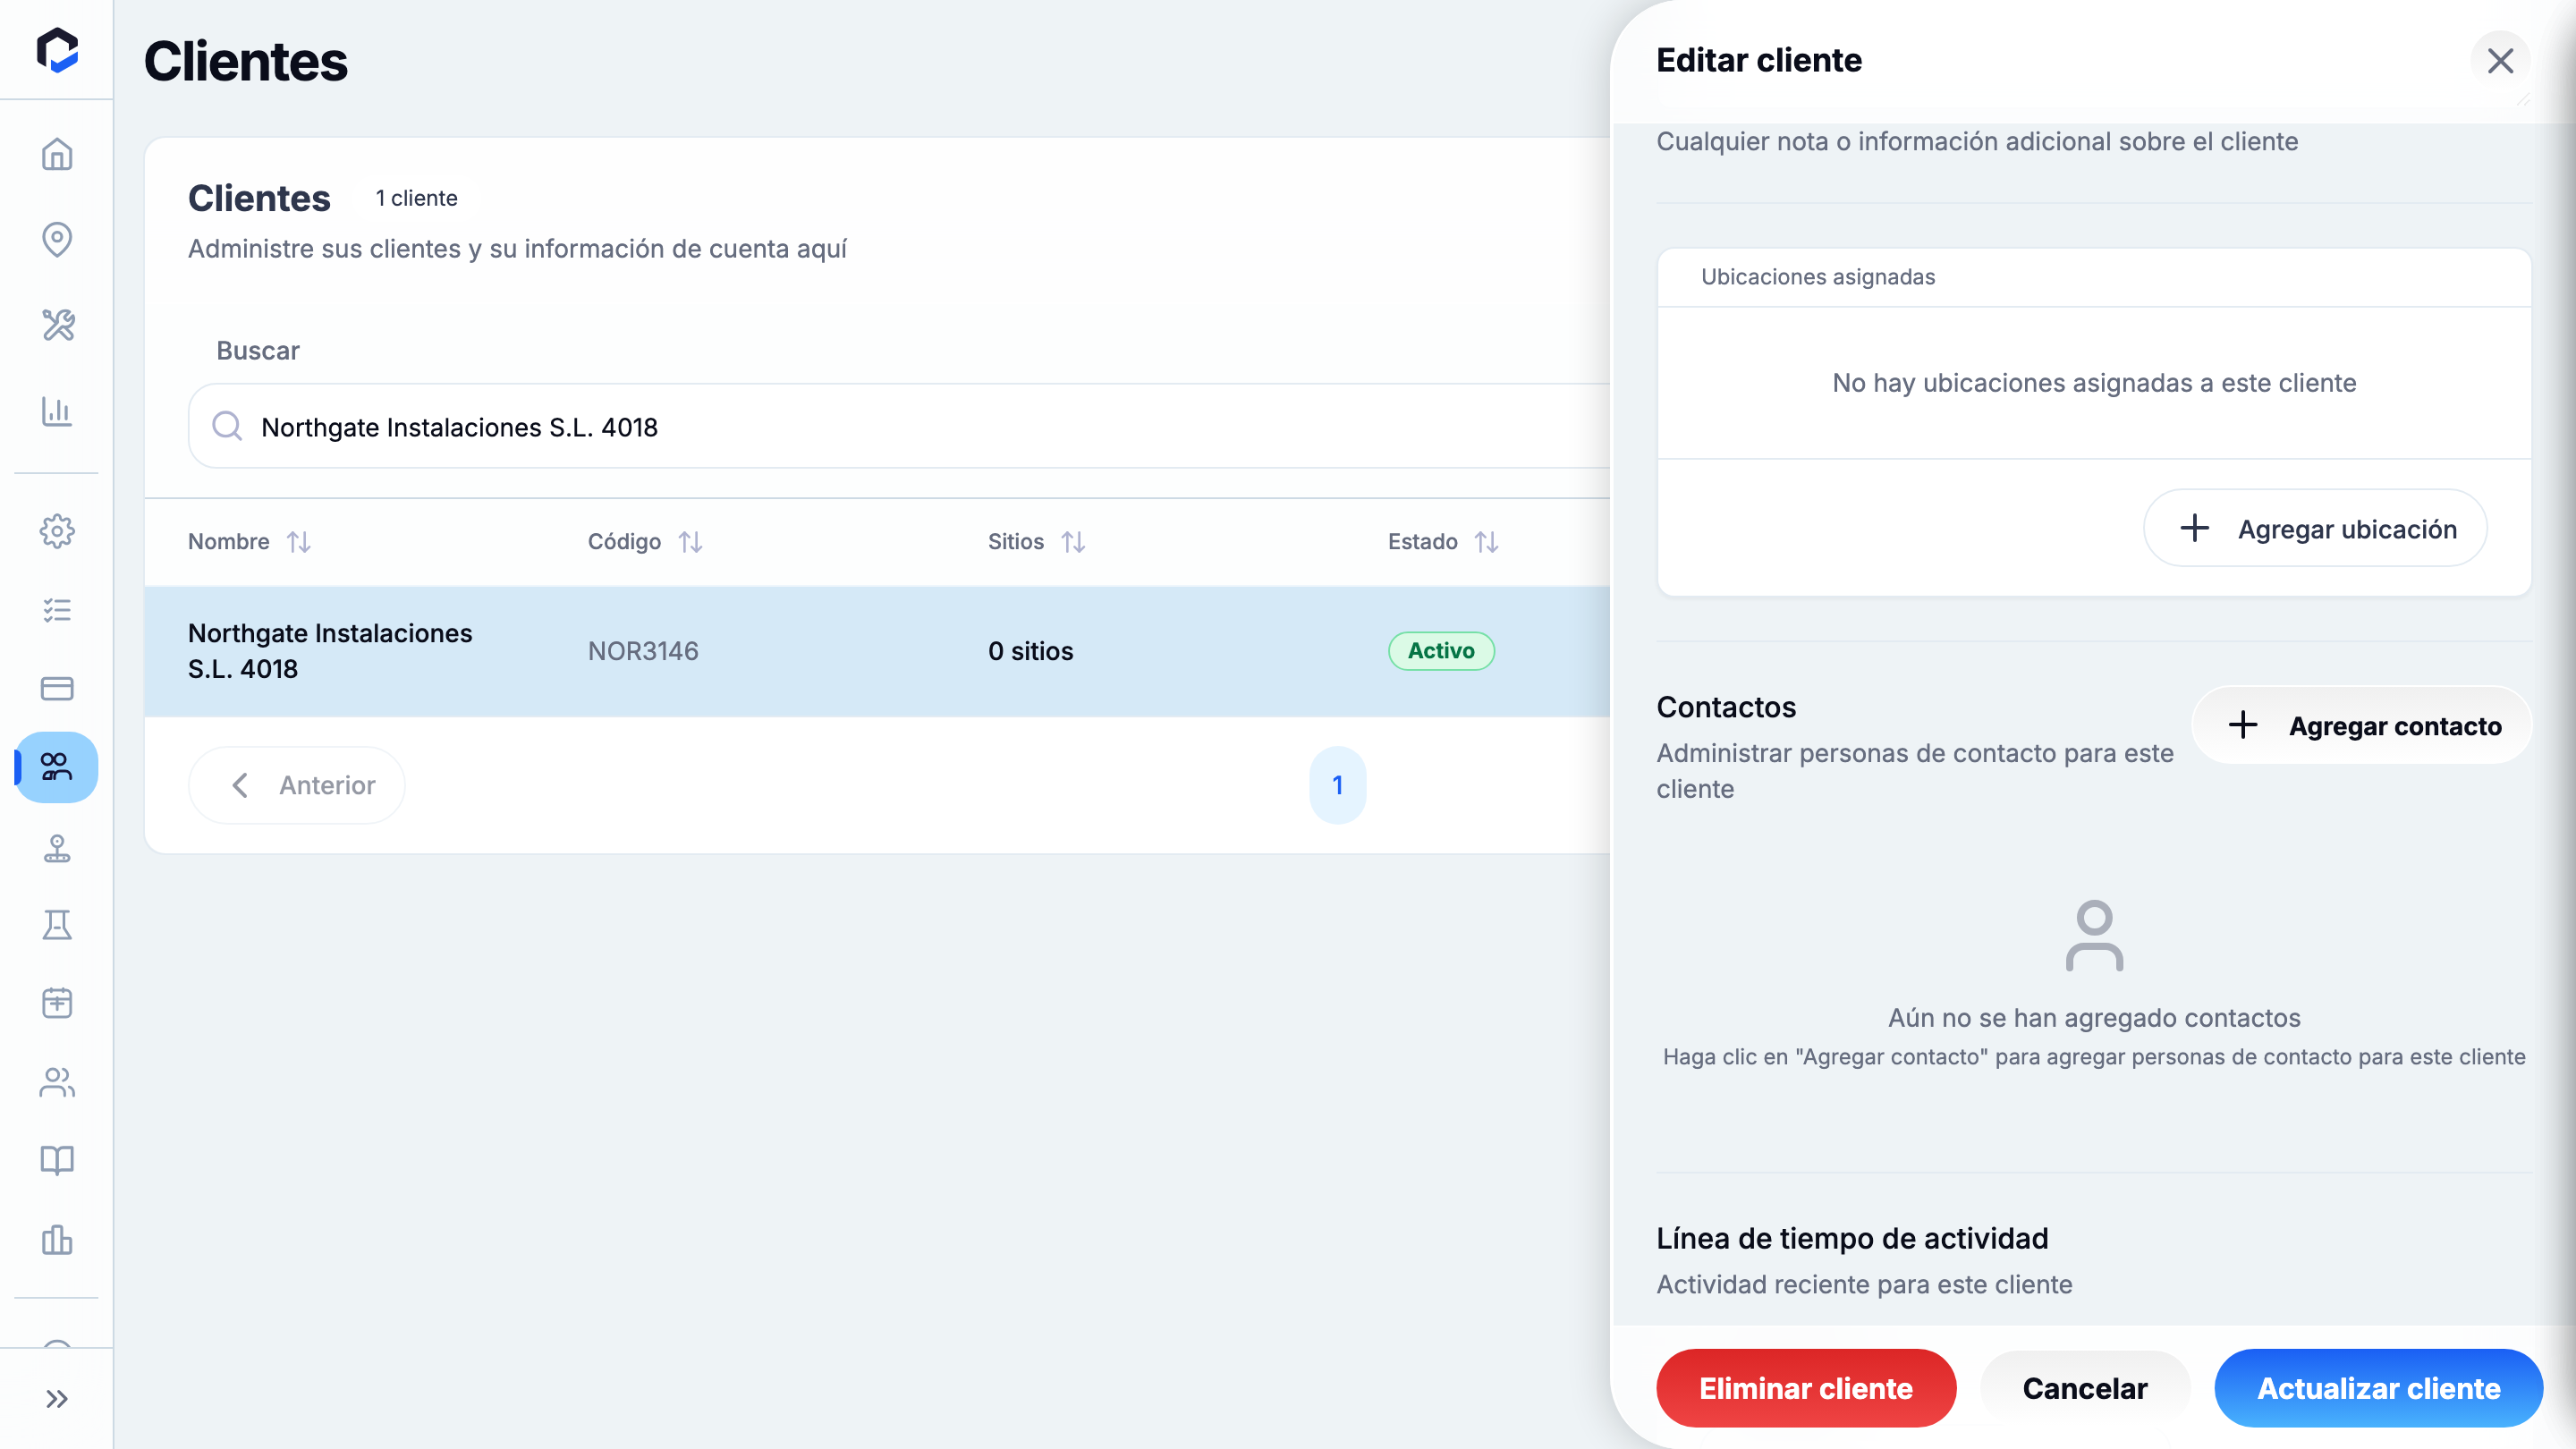
  2. Desplázate hasta la sección Contactos, que solo aparece cuando el cliente ya está guardado.

  3. Selecciona Añadir contacto.

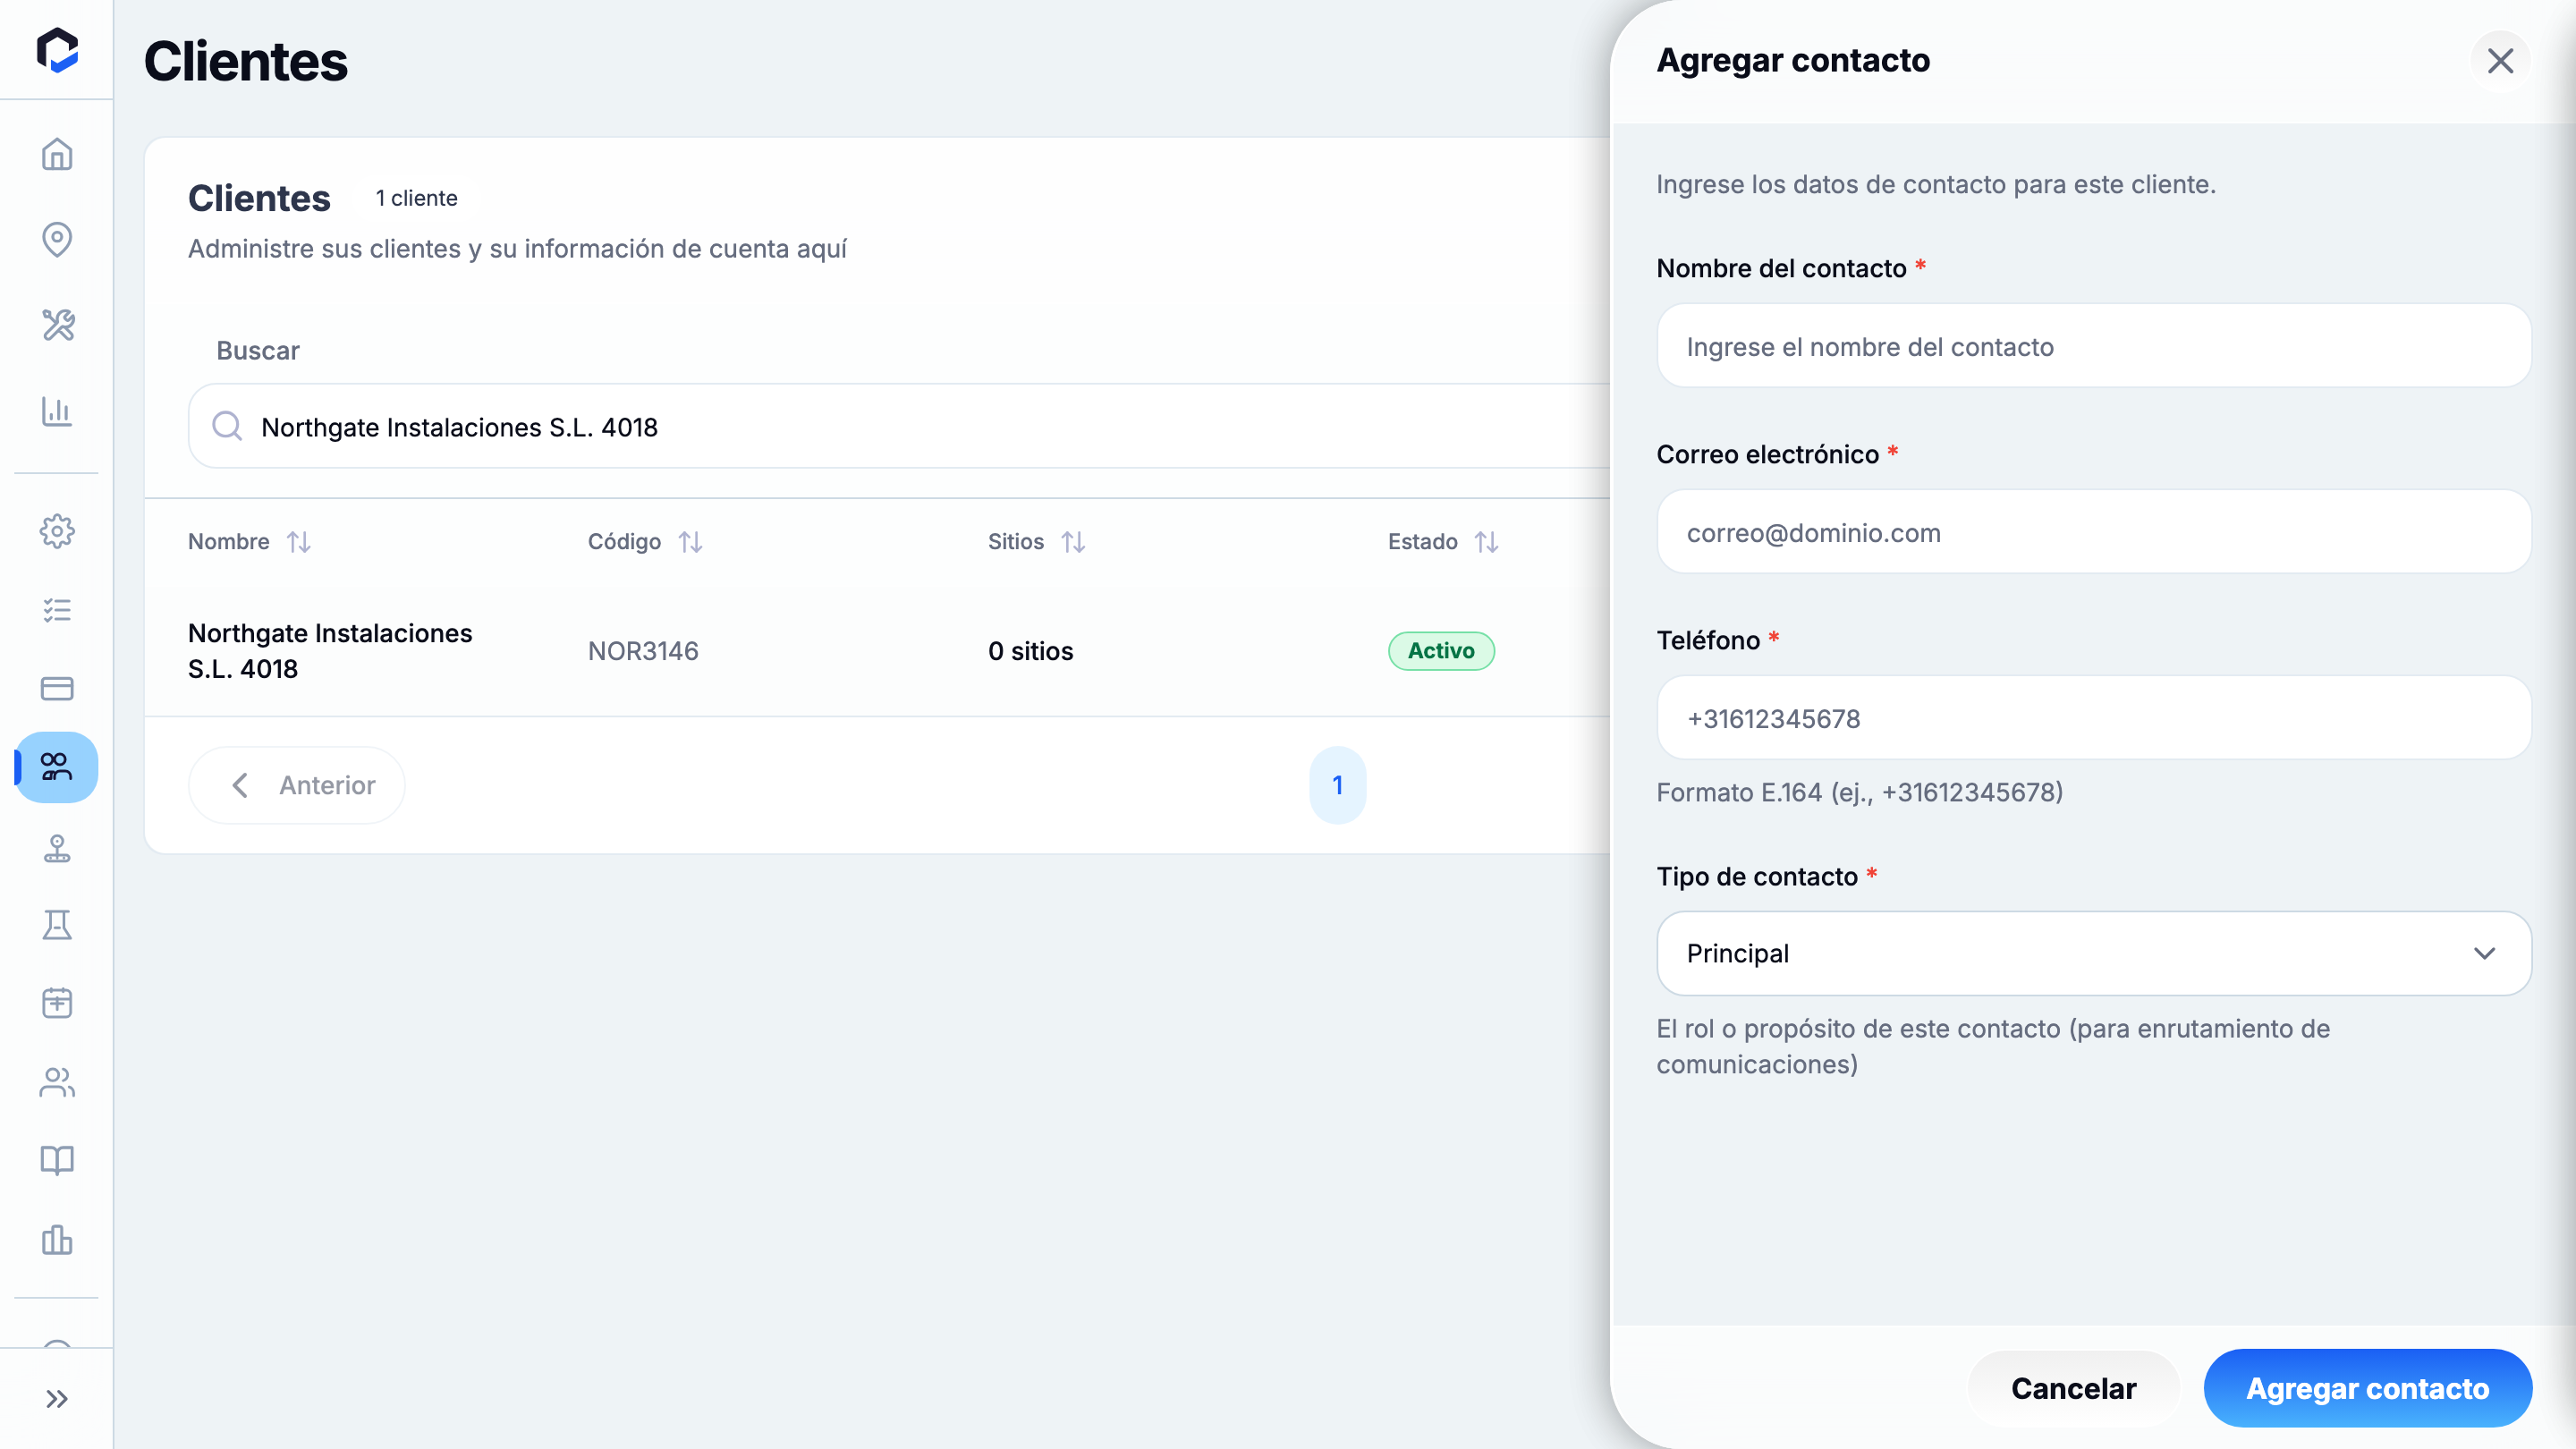
  4. Introduce los siguientes datos del contacto:

    • Nombre del contacto
    • Correo electrónico
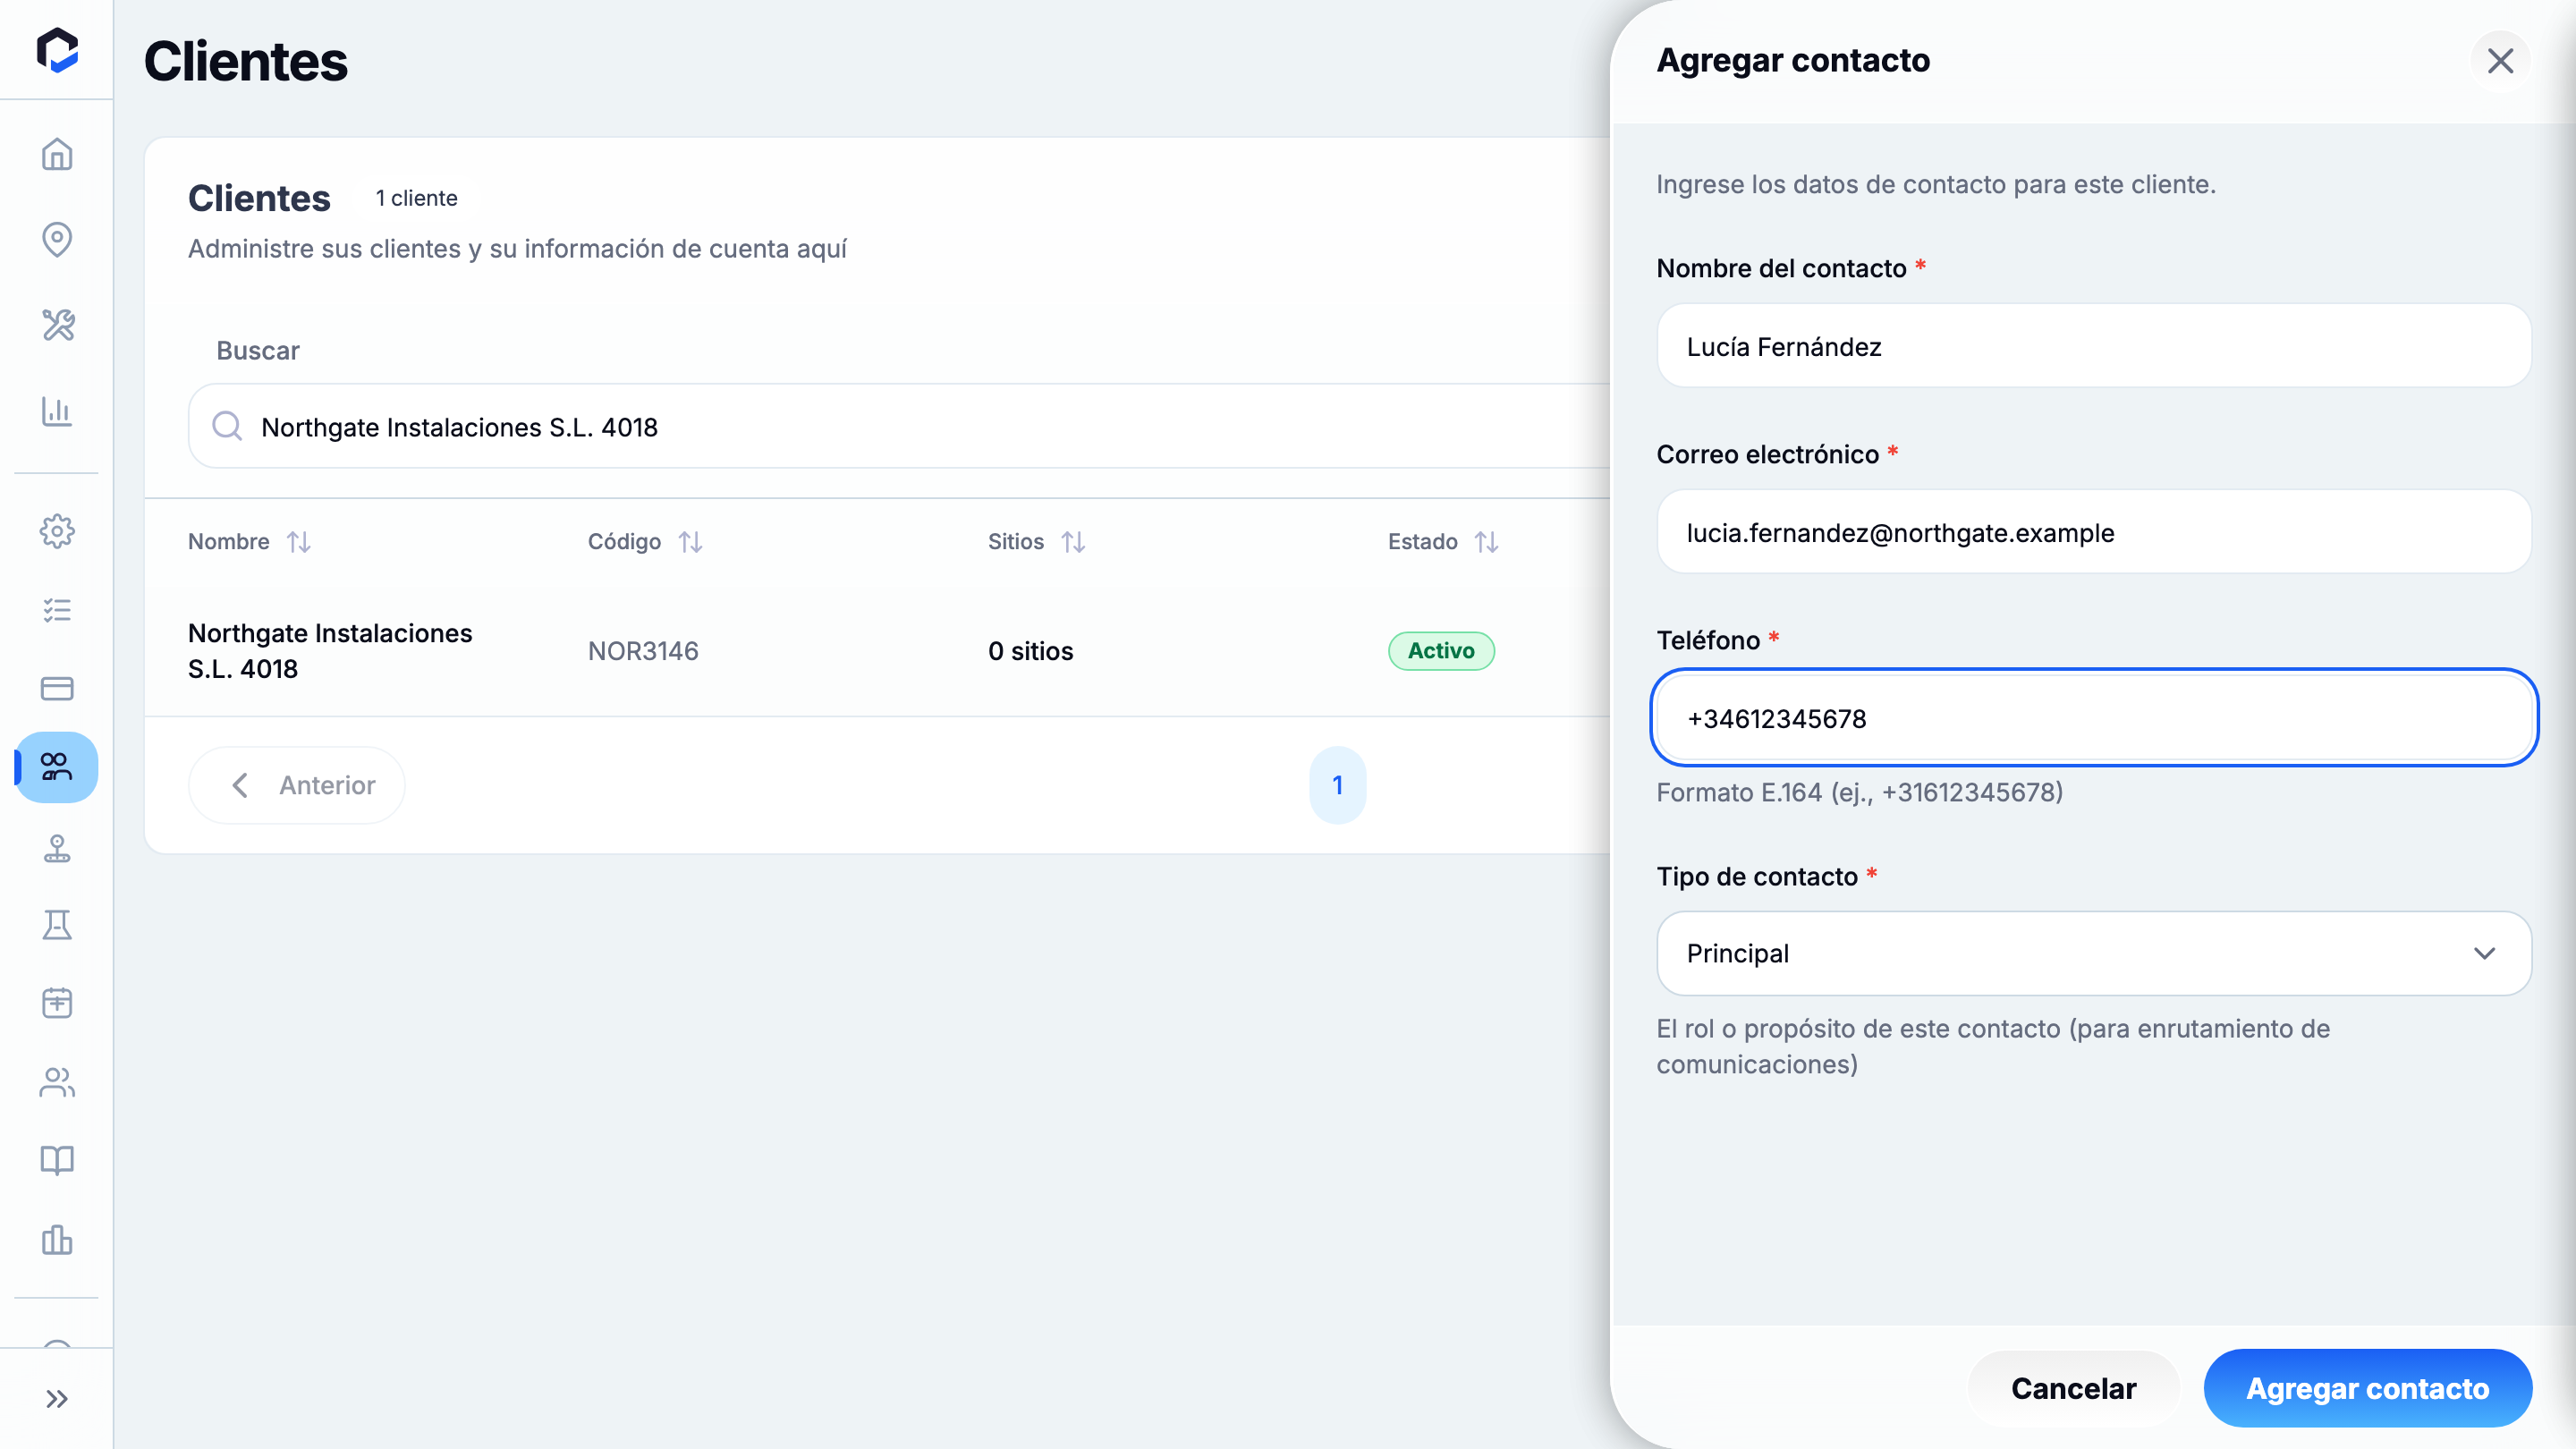
    • Teléfono en formato internacional (por ejemplo, +34123456789)
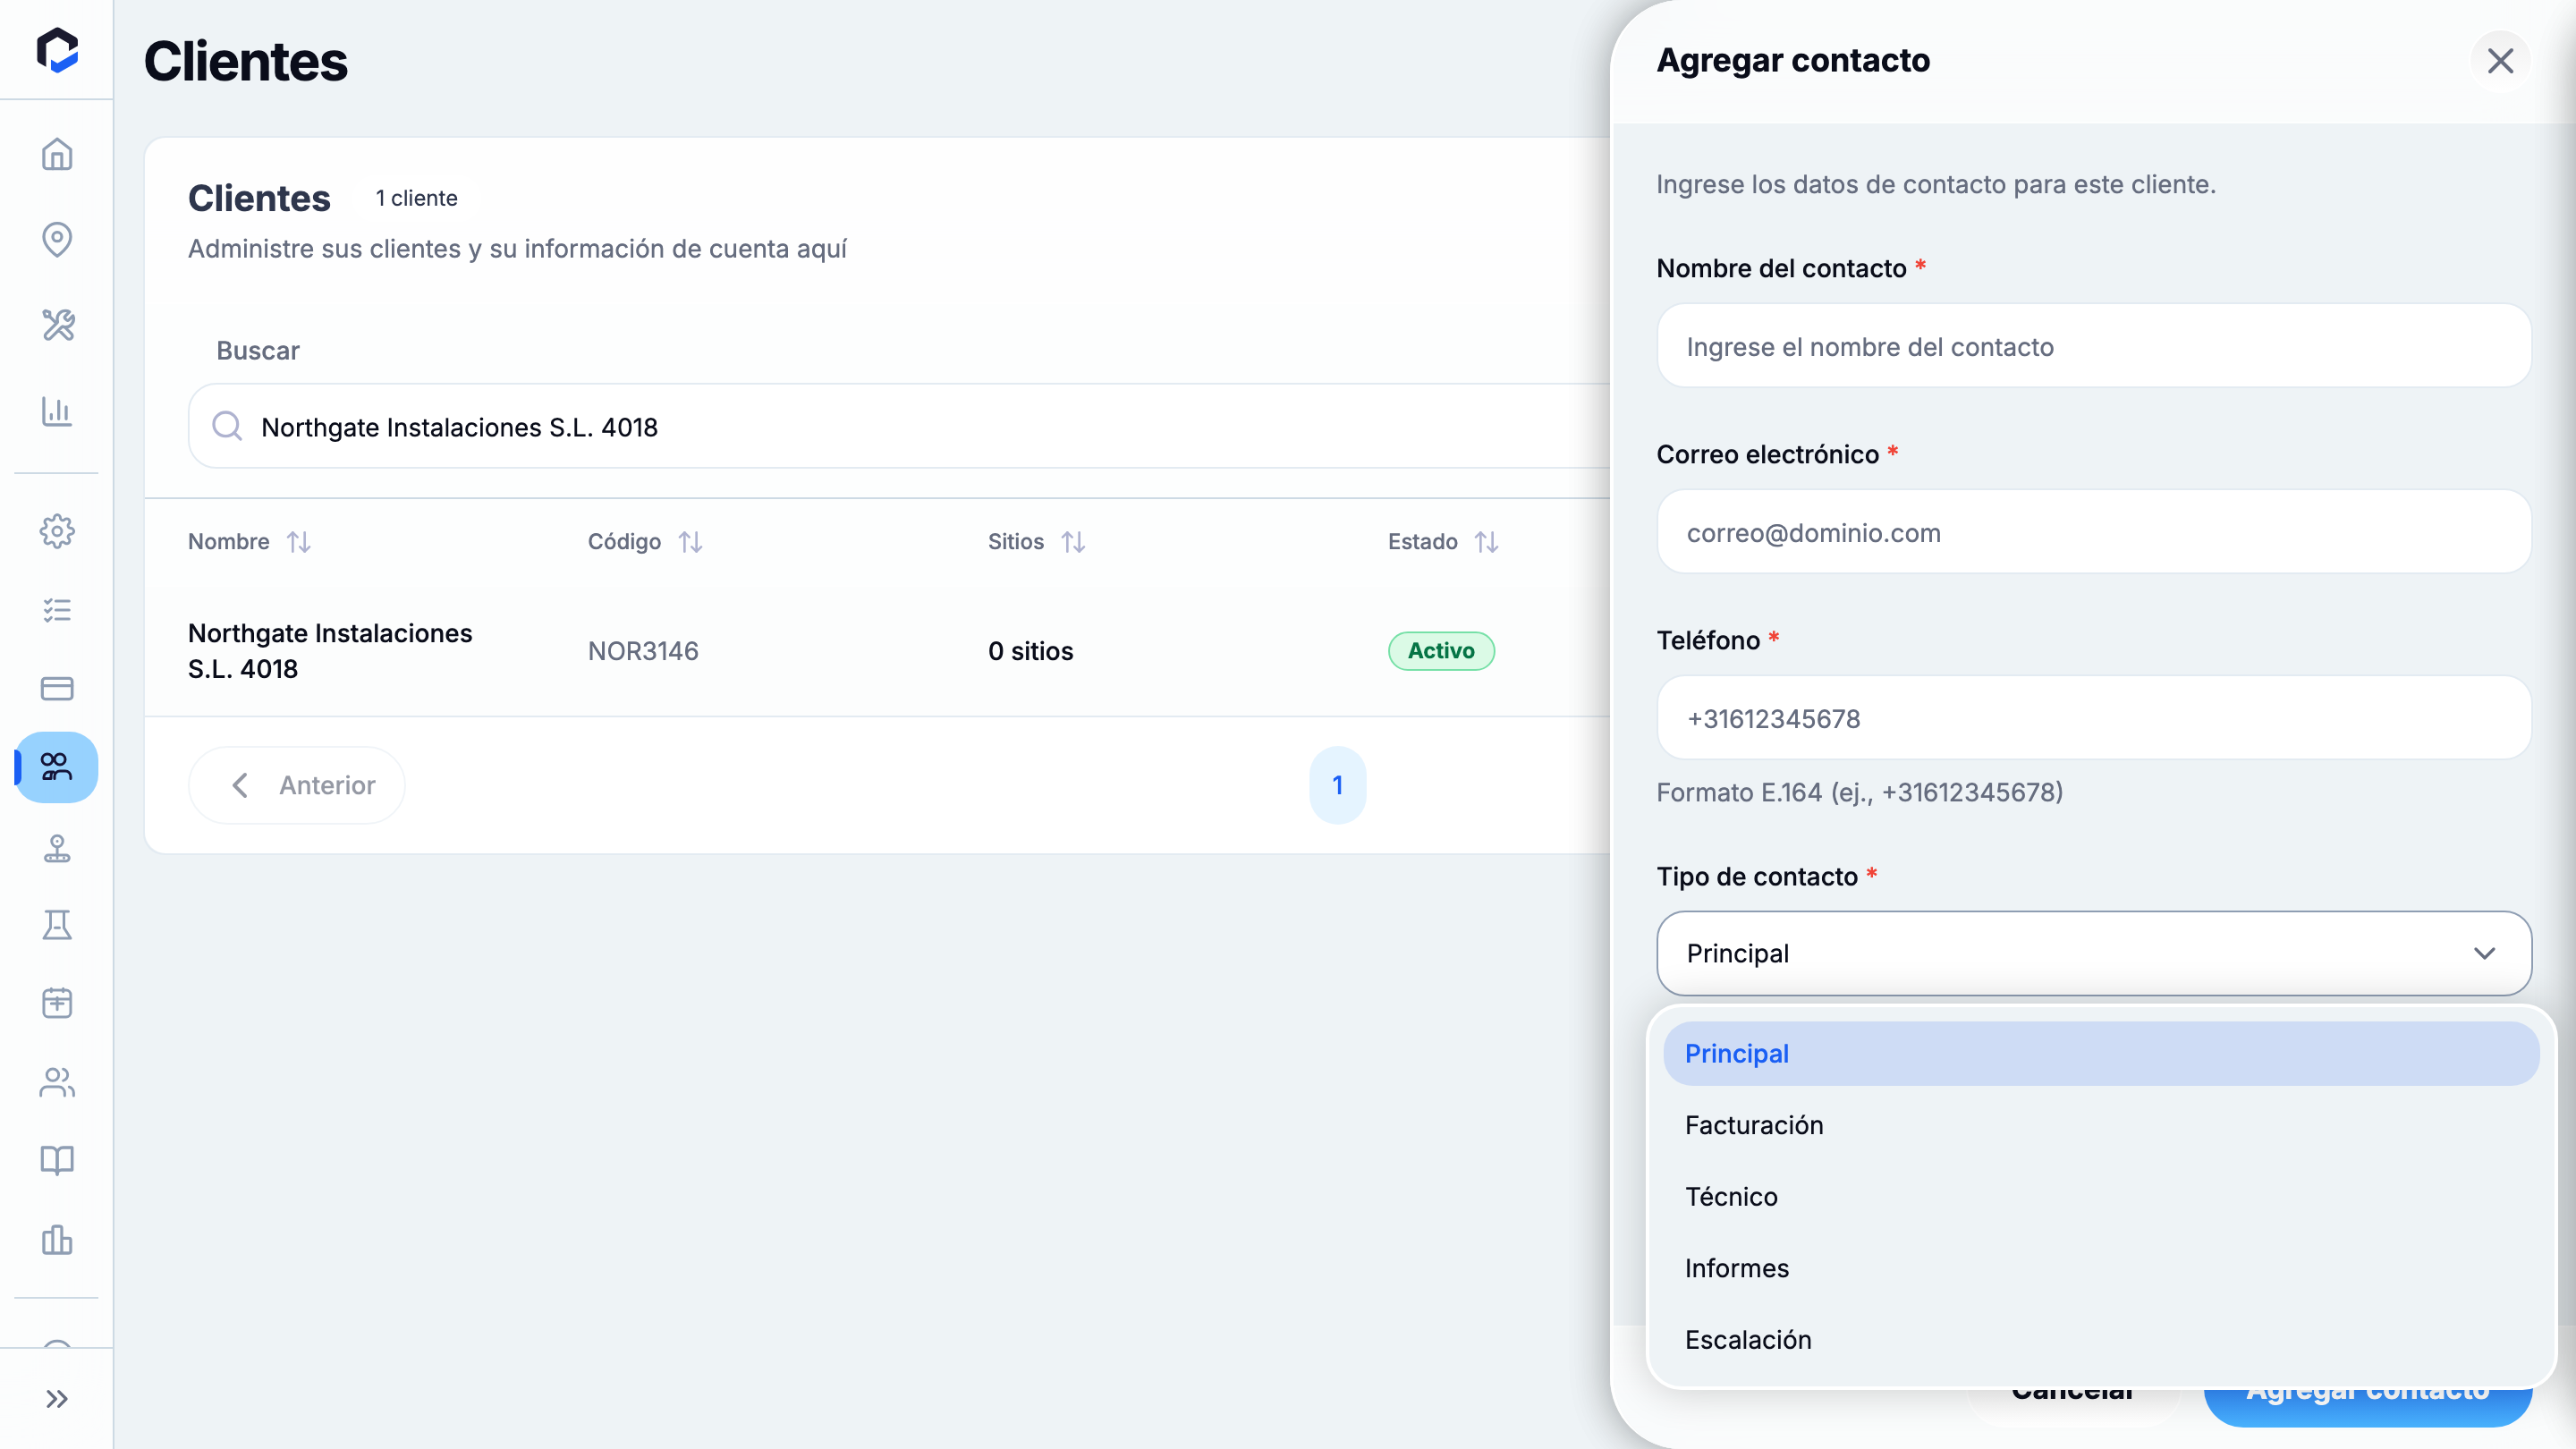
    • Tipo de contacto, eligiendo entre Principal, Facturación, Técnico, Informe o Escalado
  5. Pulsa Añadir contacto para guardar.

Puedes editar o eliminar contactos usando los iconos en cada tarjeta de contacto. La eliminación es lógica, conservando referencias históricas. Los contactos y sus certificados solo están disponibles en la versión web.

Permisos y restricciones

  • Solo los roles de Propietario y Administrador pueden añadir, editar o eliminar clientes y contactos.
  • Los números de teléfono deben introducirse en formato internacional; de lo contrario, el sistema rechazará el dato.
  • Los roles solo lectura pueden consultar clientes y contactos, pero no modificarlos.
Vídeo explicativo — 12 artículos

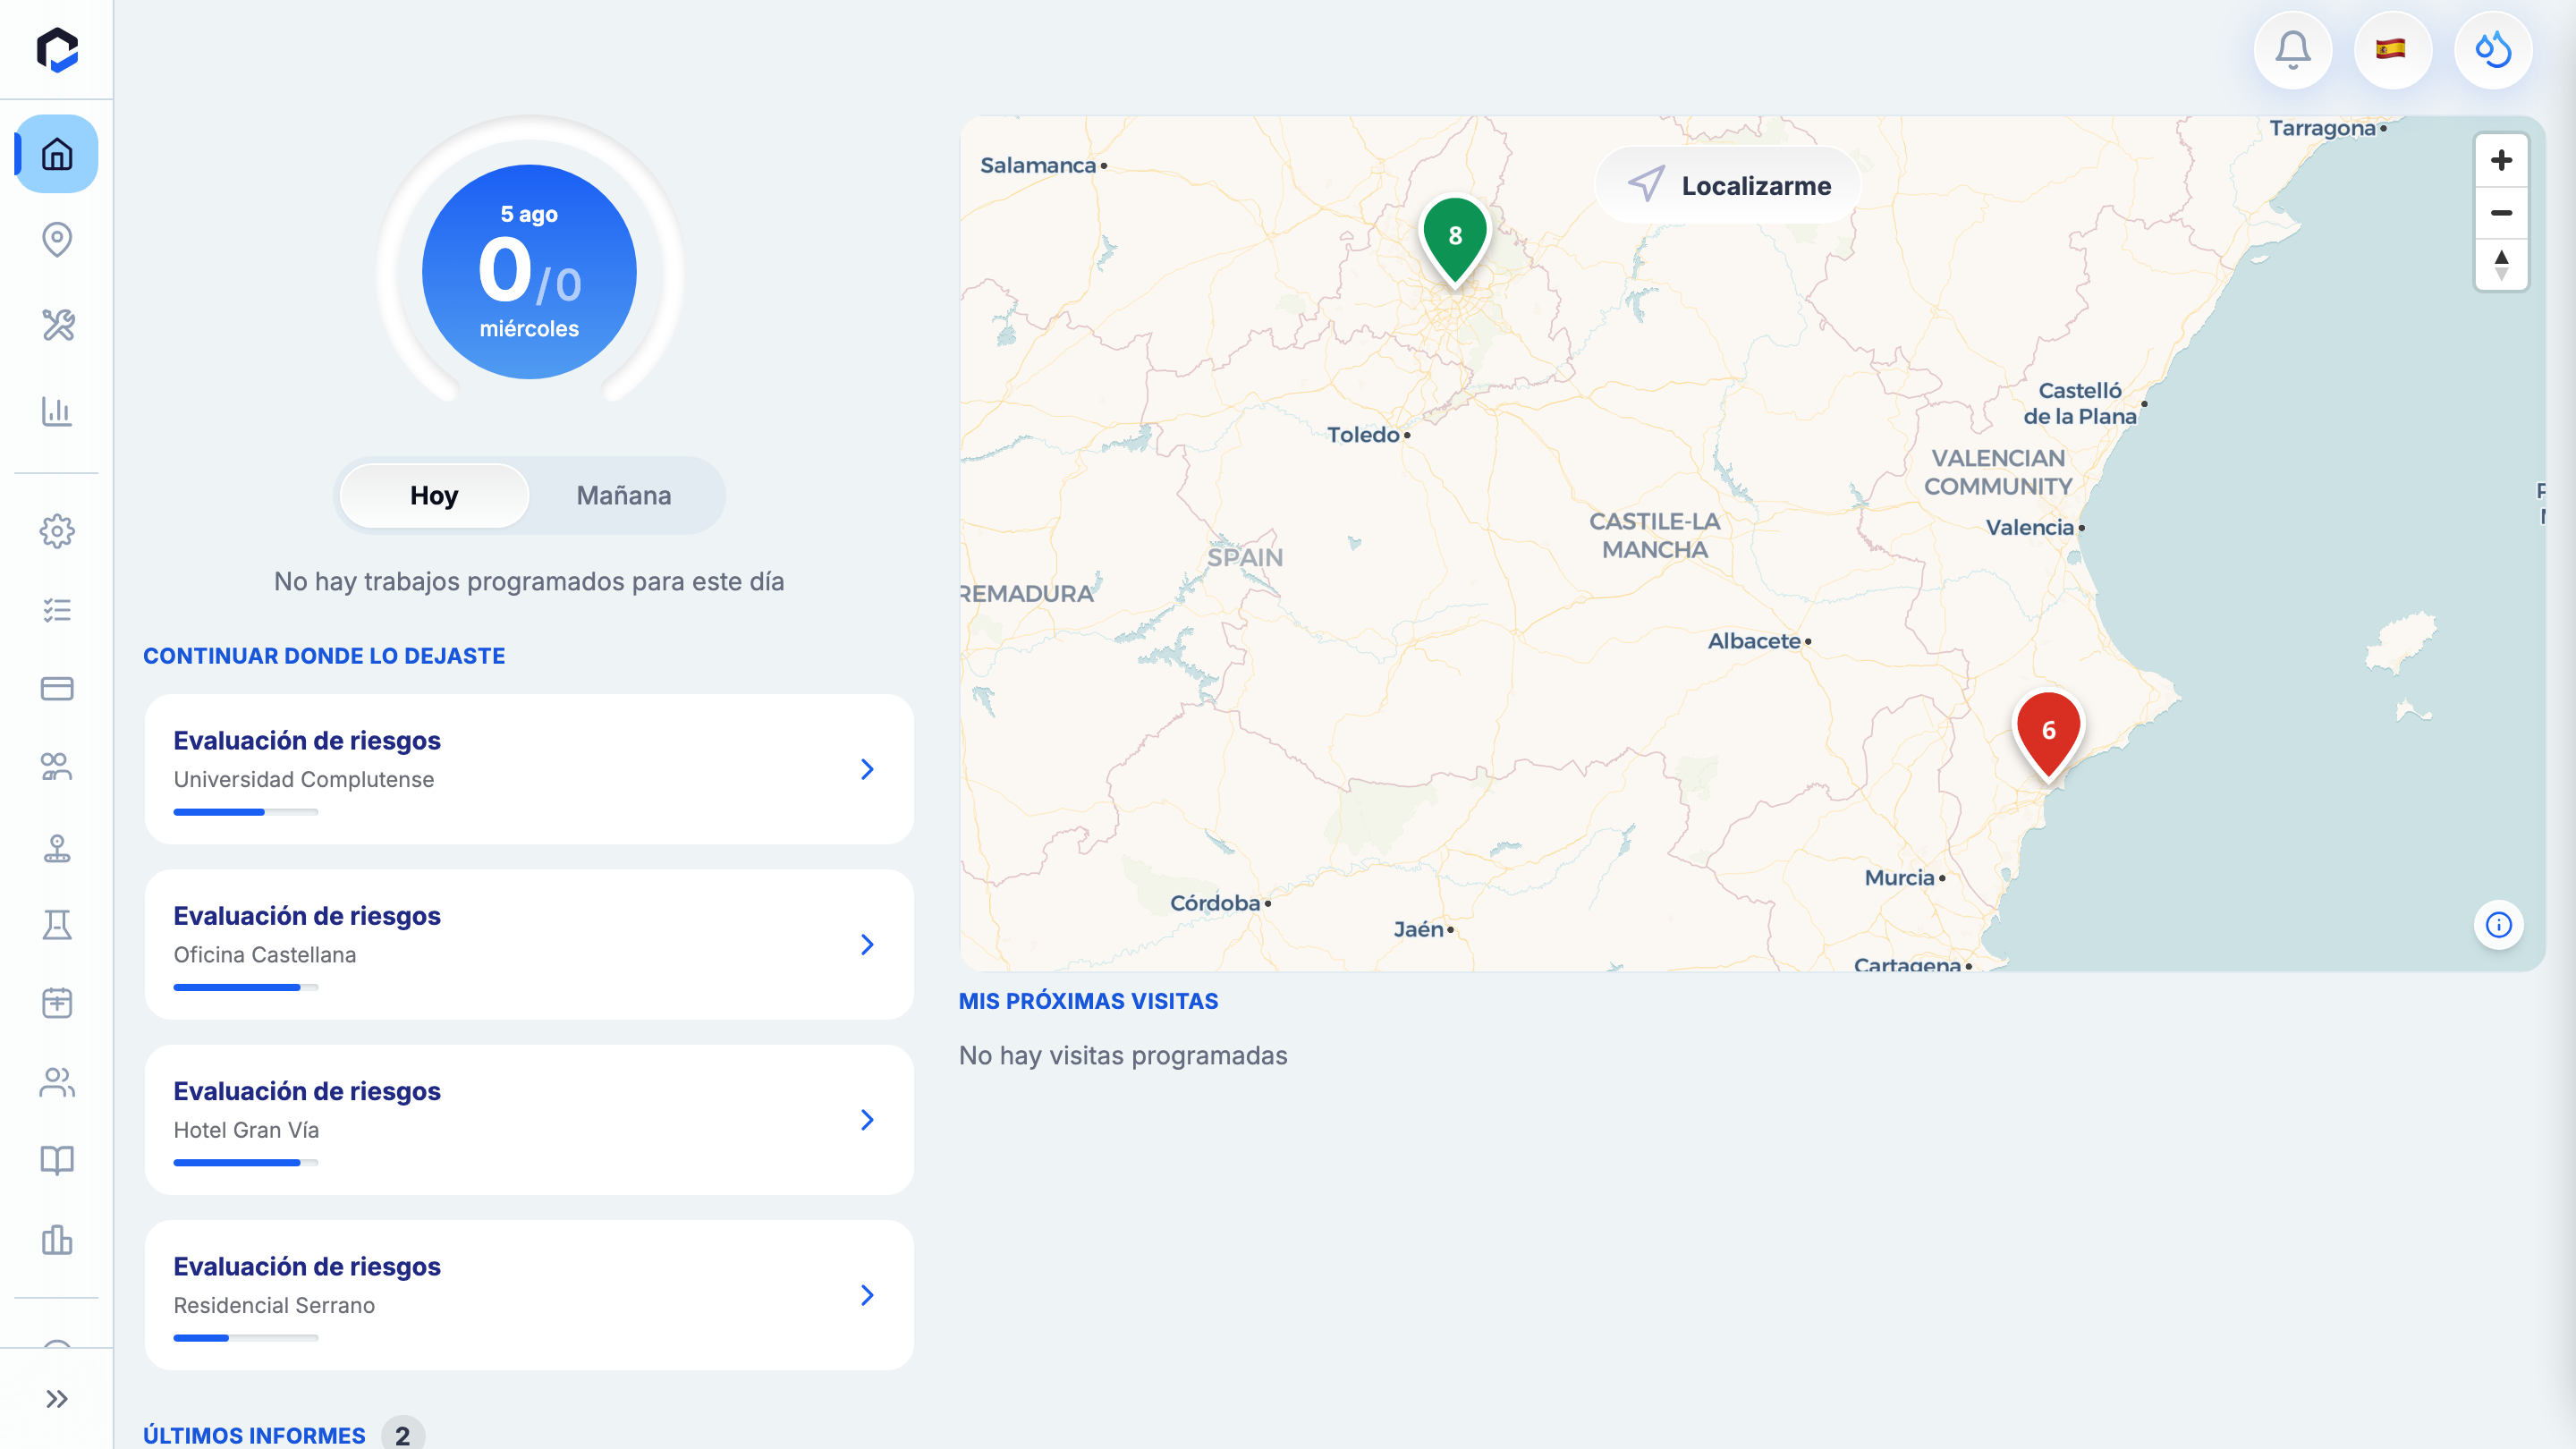
1.BriqSafe home dashboard (My BriqSafe) — the landing page after signing in; the starting point for this workflow.

BriqSafe home dashboard (My BriqSafe) — the landing page after signing in; the starting point for this workflow.

2.Clients screen with search/status filters, the client table, Add client and Export CSV.

Clients screen with search/status filters, the client table, Add client and Export CSV.

3.Add New Client panel (empty): Client Name, Client Code (auto), Address, Tax ID/VAT, Status, Notes.

Add New Client panel (empty): Client Name, Client Code (auto), Address, Tax ID/VAT, Status, Notes.

4.Add New Client with ALL fields filled — name, address, Tax ID/VAT and Notes (Client Code left blank to auto-generate, Status Active).

Add New Client with ALL fields filled — name, address, Tax ID/VAT and Notes (Client Code left blank to auto-generate, Status Active).

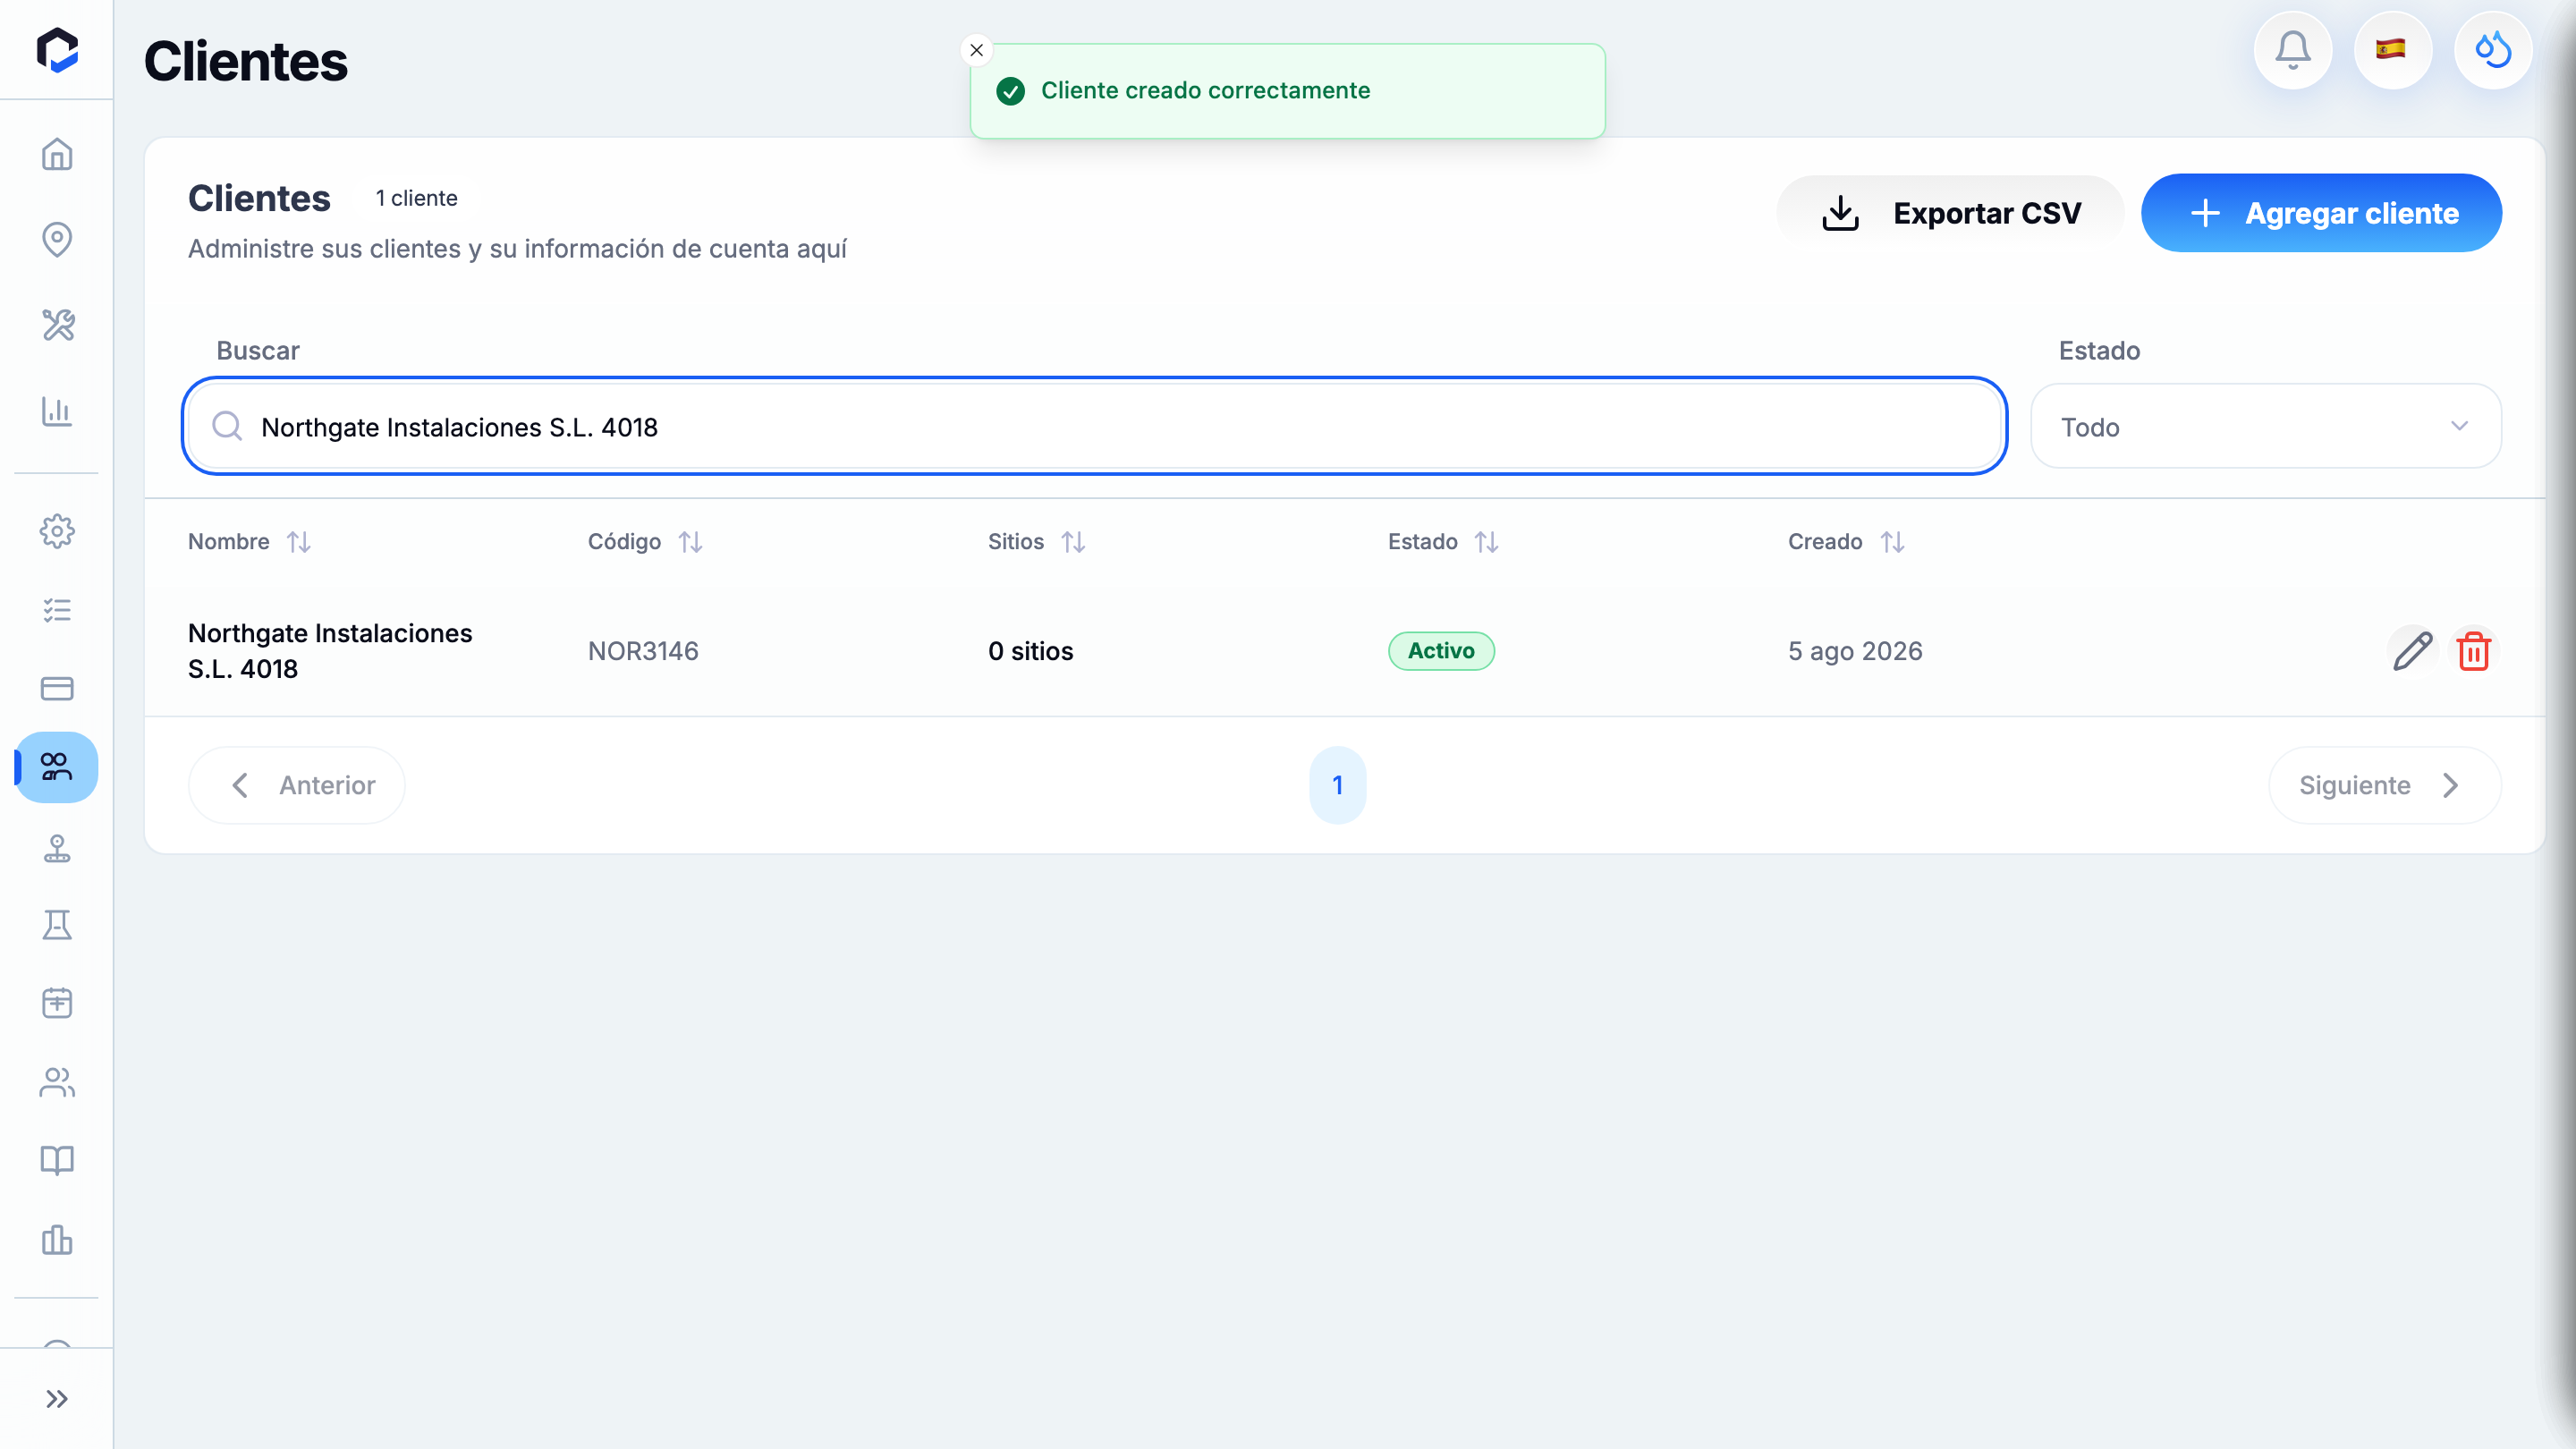
5.Clients list with the "Client created successfully" toast and the new client (auto code, Active).

Clients list with the "Client created successfully" toast and the new client (auto code, Active).

6.The clients overview located to the newly created client — its row visible with the auto-generated code and Active status.

The clients overview located to the newly created client — its row visible with the auto-generated code and Active status.

7.Edit Client panel: code, status, editable fields, Delete/Cancel/Update.

Edit Client panel: code, status, editable fields, Delete/Cancel/Update.

8.Contacts section (empty) with Add Contact.

Contacts section (empty) with Add Contact.

9.Add Contact form (empty): Contact Type, Name, Email and Phone before entering details.

Add Contact form (empty): Contact Type, Name, Email and Phone before entering details.

10.Contact Type dropdown open — Primary, Invoicing, Technical, Report, Escalation.

Contact Type dropdown open — Primary, Invoicing, Technical, Report, Escalation.

11.Add Contact form filled — Contact Name, Email, E.164 phone and Contact Type Primary (ready to add).

Add Contact form filled — Contact Name, Email, E.164 phone and Contact Type Primary (ready to add).

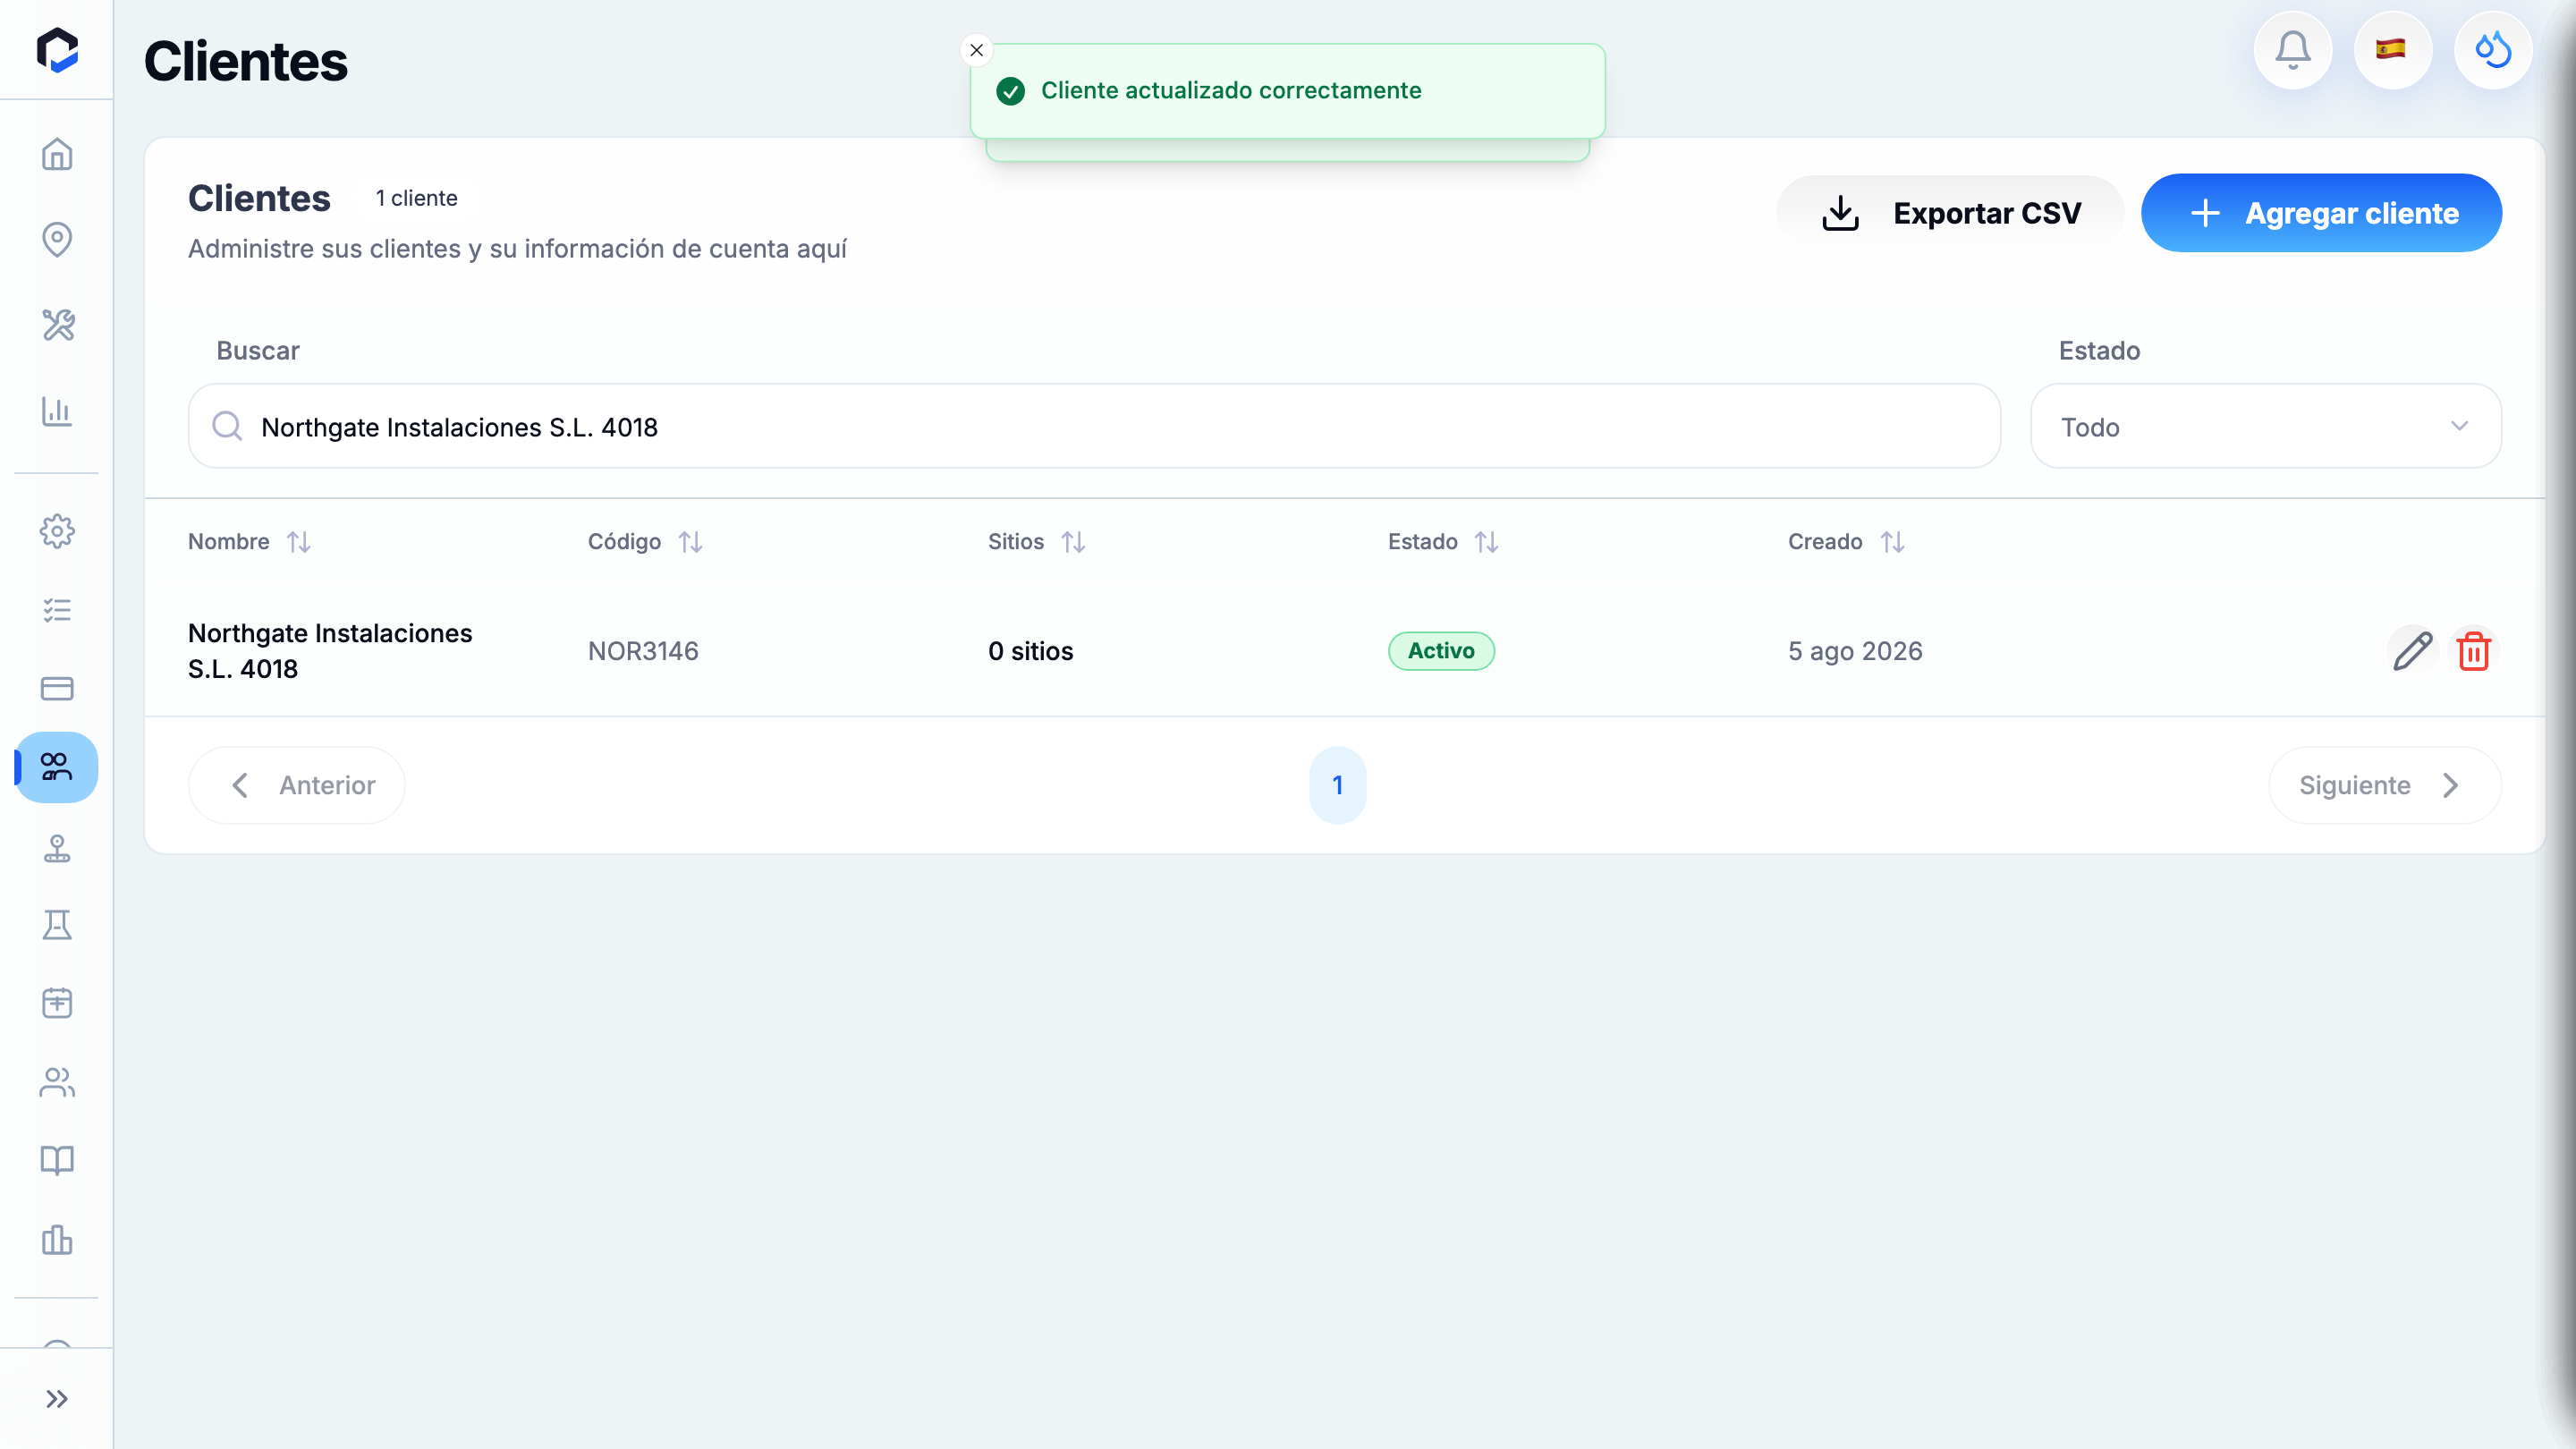
12.The finished client record — client created and the contact step completed, back on the client overview. End of the workflow.

The finished client record — client created and the contact step completed, back on the client overview. End of the workflow.